

Air fryer butternut squash risotto cakes
Butternut squash risotto cakes are the perfect fall appetizer. Leftover, cold risotto is formed into little patties that are breaded and then made crispy in the air fryer.
This is also a great make-ahead recipe for the holidays! You can put them in the air fryer at the last minute and serve them warm and crispy. These risotto cakes can also be reheated in a hot oven (or air fryer) to crisp back up again if needed.
Pook’s Pantry participates in affiliate programs. If you make a purchase through one of my links, I may earn a small commission. For more information, please see my disclosure policy.
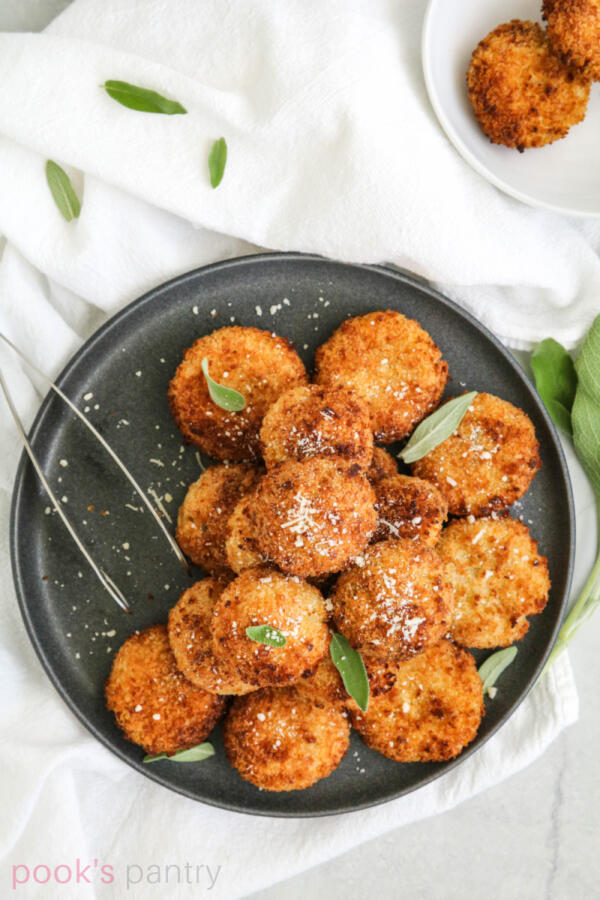
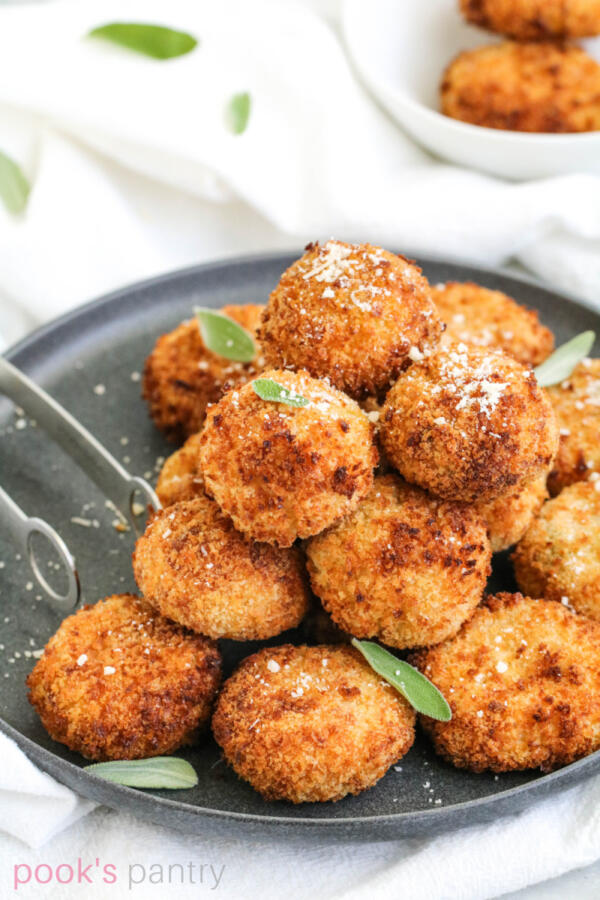
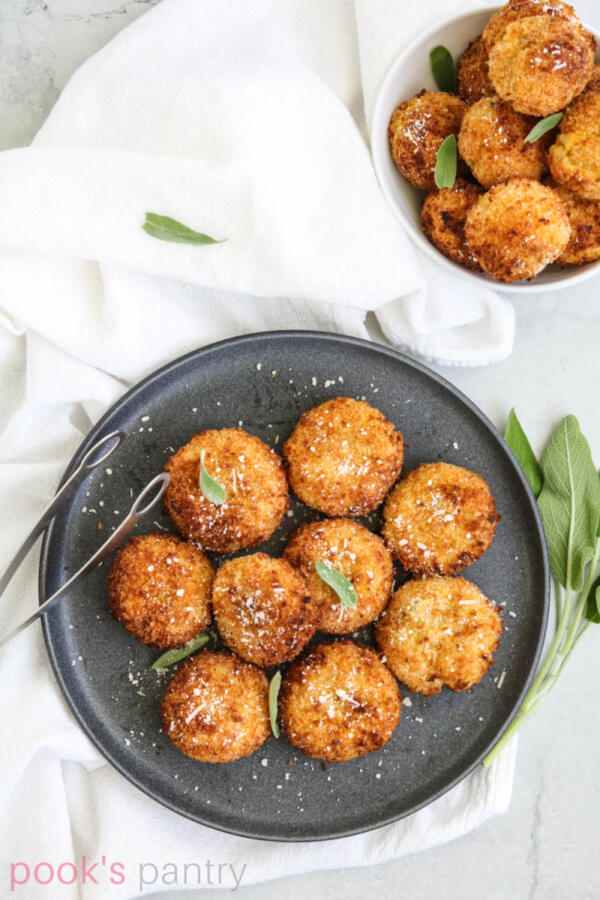
Butternut squash risotto cakes
This air fryer butternut squash recipe is great as a tasty side or as an appetizer. You can make them as big or as small as you like.
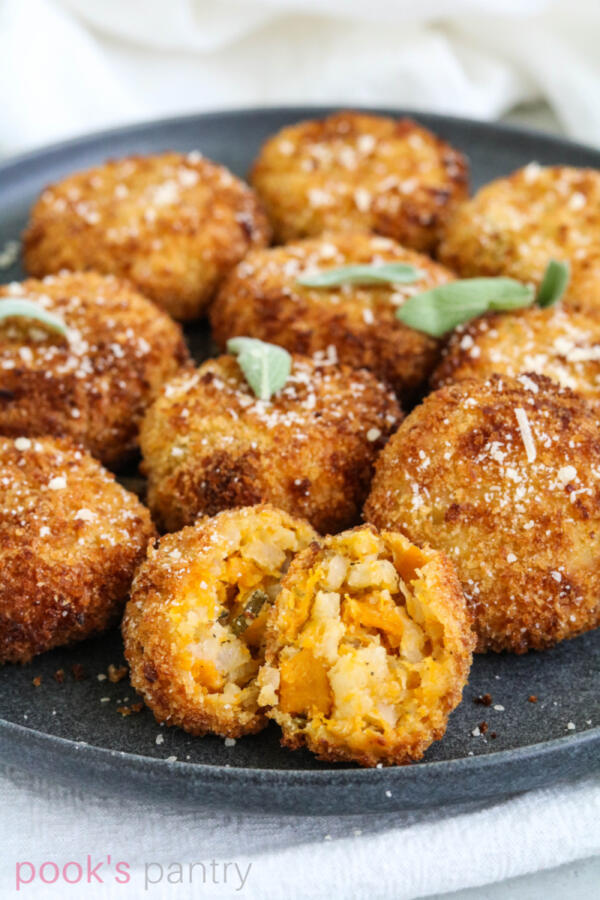
I chose to make them a two-bite appetizer size. You can see the pieces of butternut squash and sage leaves inside this tasty morsel.
It makes for a really delicious snack or side dish, and because I can make these ahead of time, I think it will be included in my autumn holiday menu.
Air fryer risotto cakes with butternut squash
I was gifted this air fryer from my friends. If you don’t own one, you can still make these by deep-frying them.
Carefully drop the breaded risotto cakes into hot oil (about 350°F) and fry for 3 – 4 minutes until browned all over. You could also pan fry them in an inch of oil, turning them over and frying until browned.
Depending on the type of air fryer that you own, make sure that you cook them in batches if necessary. Don’t overcrowd the basket or tray, as air needs to circulate around them.
Procedure
The first step is to make the butternut squash risotto. It MUST be cold when making the risotto cakes, otherwise they will fall apart.
I like to make it the day before and let it chill overnight in the fridge. If you prefer to make it the same day, cook the risotto in the morning. This will give it enough time for the initial chill and also the second one, once they’ve been breaded.

This is a standard breading procedure (SBP). Coating the risotto cakes in flour, egg and breadcrumb will ensure a very crunchy exterior.
Using a 1 ounce cookie scoop, portion the cold risotto into balls. Then lightly flatten each one into a disk and dip into the flour, then egg and lastly, breadcrumb.

As you can see in the last photo, they are golden brown and crunchy!
Butternut squash risotto
As always, having everything ready to go (or your mis-en-place) will make things go more smoothly, so measure your ingredients before you start the rice.
Would you like to save this recipe?
The first step is sautéing shallots in butter. Then you add the unrinsed rice to the pot and give it a stir. Next, the wine goes into the pot. Then, adding stock little by little as the rice absorbs it and stirring for a bit.
One piece of equipment that I recommend is a heavy-bottomed pot, like a Dutch oven. I have a Le Creuset Dutch oven that I adore.
Helpful tips and tricks for making crunchy arancini
Use a bit of cooking spray to coat the risotto cakes – this will help them brown in the air fryer. I cannot stress enough the importance of starting with cold rice. Please make sure it is chilled before you begin.
I let the balls of risotto chill again after forming them and once again after breading. It might be overkill, but I’ve never had one break apart on me.
After rolling the butternut squash risotto into balls, you can leave them round (I did half round and half flattened).
Risotto balls, called arancini, are breaded and fried the same way. Either option will taste the same, the only difference is the shape.
After breading, let the risotto cakes rest for at least 5 minutes. This helps the breading dry out a little and adhere to the outside of the cakes, ensuring that it will not fall off when you bite into them.

Flipping them over for a few minutes at the end of cooking helps to brown them all over, I highly suggest doing this.
Serving suggestion – serve these butternut squash risotto cakes with fresh cranberry chutney. It goes really well together and makes an excellent autumn nibble.
More butternut squash recipes
Butternut squash is one of our favorite fall vegetables. It is so versatile and delicious – here are a handful of different ways to use this veggie.
- Air fryer butternut squash fritters
- Butternut squash arugula salad
- Fall panzanella
- Butternut squash dog treats
Please share
If you love this recipe, please give it 5 stars!

I hope you love this recipe as much as we do! Please consider rating and/or commenting.
Your shares help this site to grow and I appreciate it so much. Do you know someone who would like this? I’d love it if you would share it on Facebook or pin it to your favorite recipe board.

Air fryer butternut squash risotto cakes
Ingredients
- 2 cups butternut squash risotto cooled
- 2 eggs beaten
- 1 cup all-purpose flour
- 1 1/2 cups panko breadcrumbs
- Cooking spray
- 1 tbsp. grated parmesan cheese + extra for garnish
- 1 tsp. fine sea salt
- 1/2 tsp. ground black pepper
Instructions
- Make butternut squash risotto, then chill overnight or at least 4 hours.
- Heat air fryer to 400°F / 200°C.
- In a small bowl, combine flour with salt and pepper. Set aside.
- In a second small bowl, whisk eggs, then set aside.
- Combine panko breadcrumbs with parmesan cheese in a third small bowl, then set aside.
- Using a 1 ounce cookie scoop, portion the cold risotto into balls. Then lightly flatten each one into a disk and dip into the flour, then egg and lastly, breadcrumb mixture.
- Let risotto cakes rest for about 5 minutes, allowing the breading to adhere and dry out.
- Lightly spray them on both sides with cooking spray, then place in air fryer for 8 minutes. Keep an eye on them – mine were beginning to brown around 6 minutes in. Rotate the tray to brown them evenly.
- Flip over and cook an additional 2 – 3 minutes, rotating tray if necessary, until browned all over.
- Sprinkle with additional parmesan cheese, if desired.
Video
Chef’s Notes
Nutrition
Nutrition Disclaimer
Nutritional information is an estimate provided to you as a courtesy. Use your preferred nutritional calculator using the products and brands you are using for exact information.
Thanks for stopping by! Have a delicious day 🙂

Questions? Send me an email, I’m happy to help. I’d love to send you weekly tips and recipes, so you can get updates about what’s happening in the kitchen!
Hello! All photos and content are copyright protected. Please do not use my photos or recipe without prior written permission. Thank you!