

How to make strawberry loquat jam
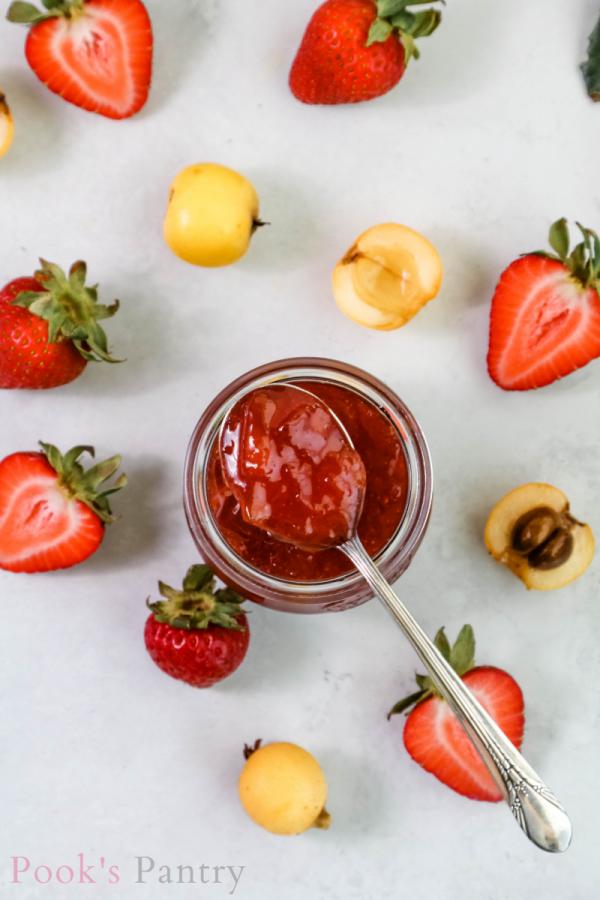
Strawberry loquat jam is a delicious and unique recipe. Like my strawberry key lime jam, it is sweet and just a little tart. It makes the perfect topping for your morning toast or weekend buttermilk biscuits.

Homemade jam opens up a world of possible flavor combinations. You’re able to create pairings that you’ll never see anywhere else – this is where the fun really begins.
Strawberry loquat jam
One of the best things about making your own jam is the opportunity to create flavors that you don’t normally see. Spring and summer is prime jam-making time, as all of the fruit is coming into season.
When you are making jam, you want ripe, luscious fruit at its prime. If you choose fruit that isn’t ripe and doesn’t taste good, your jam won’t taste good either.
If you have leftover fruit, make this simple and delicious loquat crumble.
How to make loquat jam with strawberries
The first step is to remove the seeds and the blossom end of the loquats. While doing this, have a bowl of acidulated water (water with a squeeze of lemon juice) next to you.
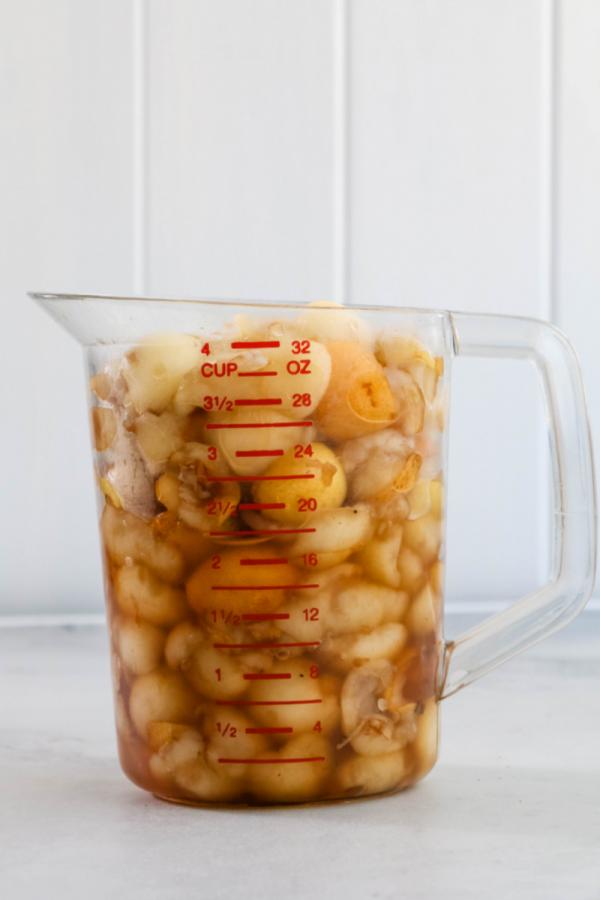
Loquats will start to oxidize, or turn brown, very quickly after being cut, just like an apple does. The lemon water helps to keep them from browning too much.
You can peel the loquats if you want a very smooth texture to your jam. I didn’t bother. Honestly, the skins are very thin and barely noticeable.
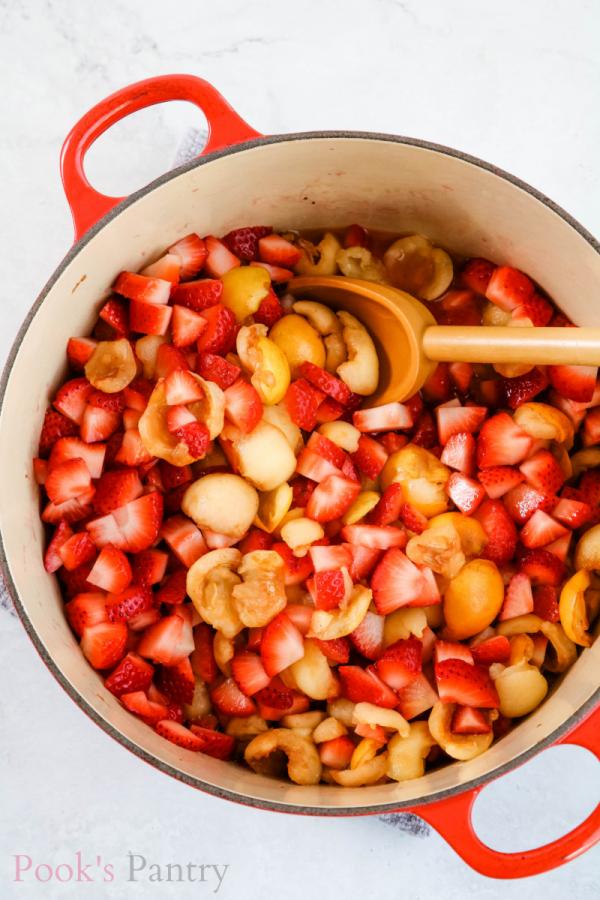
Combine everything in a large, heavy-bottomed pot. I use my big Le Creuset Dutch oven for jam. If you have a large, enameled cast iron pot, use it. This one holds a little over 7 quarts, which is perfect.
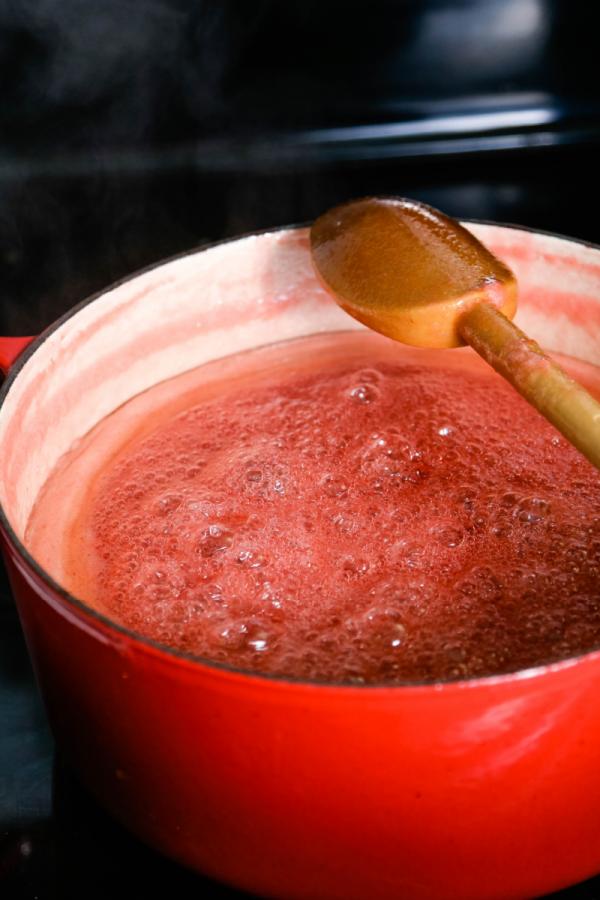
When the jam starts boiling, it will foam up in the pot. You want enough room so it doesn’t boil over. Eventually, the foam will subside and that’s a good visual cue that you’re almost done.
After the jam has been cooking down for about 30 – 35 minutes, test it for gel stage. Put a teaspoon or two of jam on the plate that you’ve put in the freezer.
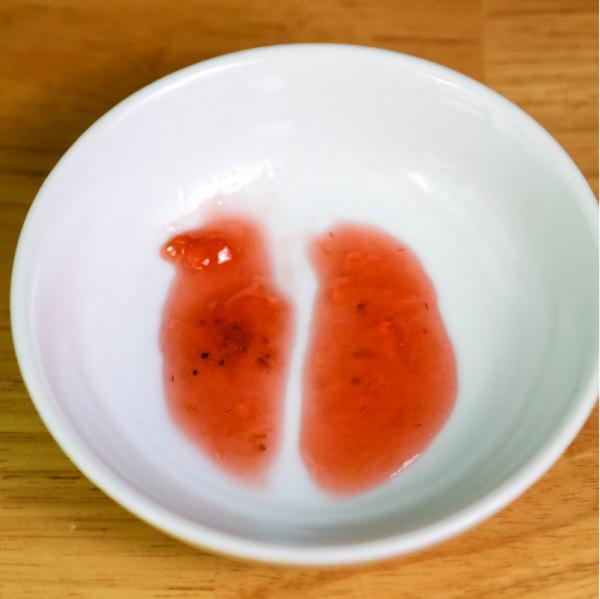
Drag your finger through the jam. If it runs back together, it’s not ready yet. If it stays separated like the photo above, it’s ready.
Water bath canning
If you are new to canning, it can be a little daunting. But, with a bit of practice, you’ll be a jam-making pro in no time.
Would you like to save this recipe?
The first step is to sterilize jam jars and lids. Submerge them in simmering water and let them stay in the water until the jam is almost ready. You want the jars to be hot when the jam goes in.
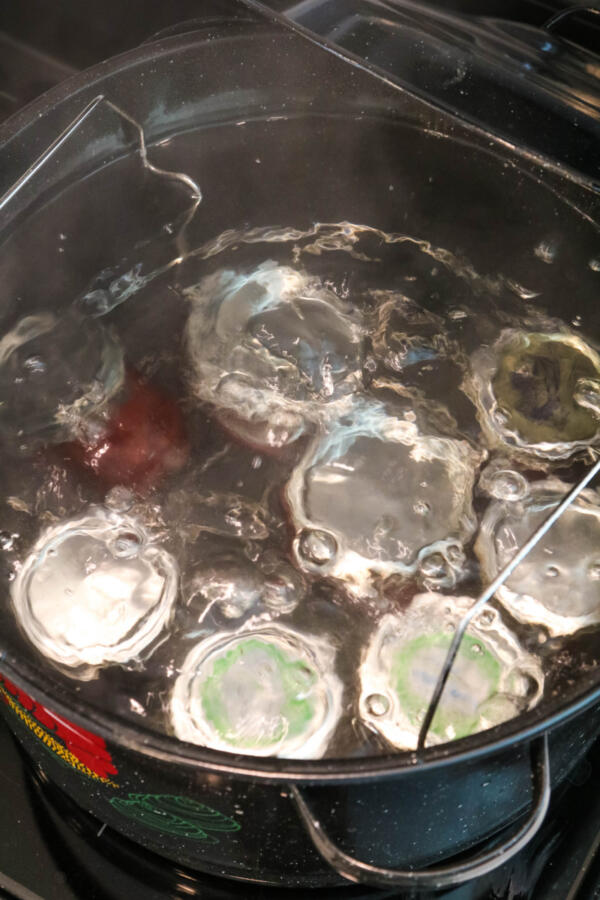
It takes awhile for the big canning pot of water to come to a boil, so I usually put that on as soon as my jam starts boiling. It’s all about timing.
The rings go on and tightened to “fingertip tight”, which means that you stop when you feel just a bit of resistance. If the lids are screwed on too tight, the air bubbles will not be able to escape.
The seals will form as the jam cools. You’ll hear that glorious “ping” sound and you’ll know the lid is sealed properly.
My jam didn’t set
Sometimes, jam doesn’t set right away. Don’t be alarmed. When I made this batch of jam, it didn’t look like it was going to set. But, I didn’t panic, I knew I had to wait and see.
I left it on the counter and went about my day. Within 8 hours, it had set perfectly. It just needed to cool down and settle in. So, if your jam looks a little runny, even though it passed the gel test, give it time.
First, give it at least a week. Sometimes, jams take a few days to fully set. If it hasn’t set within 7 days, you can open the jars and boil it down a little more, then put it back into the jars and seal it again.
If your strawberry loquat jam didn’t set for some reason and you don’t want to boil it down again, call it a sauce or a rustic compote and be done with it.
Pour it over ice cream, or on pancakes or waffles. It will still be delicious and you haven’t wasted anything.
Tools for making jam
Below is a list of helpful equipment for making homemade jam. Some of it is canning specific, but some of it is not and you probably have most of it already.
- half pint jars
- new lids and rings (reused lids increase the chances of a bad seal)
- long handled wooden spoon or non-reactive spoon
- a large stock pot with rack
- canning tongs (jar lifter)
- canning funnel
- potato masher
- oven mitts
- non-reactive ladle
More jam recipes
- Blueberry bourbon jam
- Fig jam with vanilla bean
- Peach pepper jam
- Loquat cardamom jam
- Slow cooker bacon jam
Please share
If you love this recipe, please give it 5 stars!

Your shares help this site to grow and I appreciate it so much. Do you know someone who would like this? I’d love it if you would share it on Facebook or pin it to your favorite recipe board.

Strawberry loquat jam
Ingredients
- 4 cups loquats blossom end and seeds removed
- 4 tbsp. lemon juice + more for tossing with loquats
- 4 cups strawberries hulled and quartered
- 6 cups sugar
- 1.75 ounce box of powdered pectin NOT liquid
Instructions
- Remove blossom end of loquat, peel if desired. Remove seeds and cut in half or quarter, depending on size. Add lemon juice or water with a squeeze of lemon to loquats and toss. This will help the fruit from browning.
- Place 8 half pint (8 oz.) mason jars in a very large stock pot/canning pot. Add enough water to cover the jars and bring to simmer.
- Place the lids into a small saucepan and simmer those in a bit of water as well. No need to warm the rings, just the lids. (Make sure you are using new lids, it’s best not to reuse them.)
- Put a small plate in the freezer to test doneness for jam.
- Drain water from loquats and add them to a 7 quart pot or Dutch oven. Add strawberries, 4 tbsp. lemon juice, sugar and pectin. (You’ll want plenty of room at the top of the pot when the mixture starts boiling)
- Bring to a boil over medium heat, stirring frequently to avoid scorching. Using a potato masher, gently break up fruit halfway through cooking, if desired. You can do this off heat to avoid getting splashed.
- Cook for 30 – 40 minutes. Jam will be foamy when it begins to boil, but the foam will begin to subside when jam is almost ready – that’s your cue to start watching it closely.
- Remove from heat and skim off as much foam as you can without taking too much of the jam. Put a teaspoon or two of jam on the plate in the freezer and leave it for 30 seconds. If it has reached gel stage, you’re ready to put the jam into the jars.
- Gently remove hot jars from simmering water with canning tongs and place on a dish towel until you are ready to process jam. Remove lids from hot water and set aside with jars.
- Set a wide mouth funnel inside of one jar. Using a ladle or measuring cup, scoop jam and pour into warm jar leaving 1/4" of space at the top. Repeat until all the jars are filled, then wipe the rim of the jar with a damp towel, making sure the thread of the jar is clean.
- Place lid on top and screw on the rings but do not tighten all the way. Enough to secure the lid, but not completely tightened. (this is called "fingertip tight")
- Repeat with remaining jars. Place jars into a canning rack if you have one and lower into water in canning/stock pot. If not, use tongs and lower the jars one by one (fairly quickly) into the water. Make sure water covers the jars by at least an inch, two if possible.
- Bring water to a full boil. Boil for 10 – 12 minutes, then remove from water. (I always place my hot jars on top of a dishtowel on the counter so nothing slides around.) Leave jars for 24 hours, you will hopefully hear that beautiful "PING" sound fairly soon after they’ve come out of the water, but it may take a little while.
- To make sure the jar has sealed properly – press on the lid. If it has ANY give whatsoever, that jar has to go in the fridge. Otherwise, your jam is good to go! Remove rings, if desired. You don’t need them anymore.
Nutrition
Nutrition Disclaimer
Nutritional information is an estimate provided to you as a courtesy. Use your preferred nutritional calculator using the products and brands you are using for exact information.
Thanks for stopping by! Have a delicious day 🙂

Questions? Send me an email, I’m happy to help. I’d love to send you weekly tips and recipes, so you can get updates about what’s happening in the kitchen!
Hello! All photos and content are copyright protected. Please do not use my photos or recipe without prior written permission. Thank you!