Skip to content
Pinterest
Instagram
Facebook
TikTok
YouTube
Sign Up for Kitchen Tips & Recipes!
Home
Recipe Index
About
Search
Browse By Diet
Expand
dairy-free
gluten free
keto
vegan
vegetarian
Appetizers
Salads
Side Dishes
Dinner
Expand
Beef and lamb recipes
Chicken and turkey recipes
Pork recipes
Seafood
Drinks
Expand
Cocktails
Non-alcoholic & Mocktails
Desserts
Expand
Biscotti recipes
Brownies and bars
Cake recipes
Cookie recipes
Cupcake recipes
Ice Cream and Popsicles
Icing and Frosting
No bake desserts
Rum ball recipes
Tarts and Pies
Facebook
Instagram
Pinterest
YouTube
TikTok
Search
MENU
Toggle Menu
Home
»
Snacks
Snacks
Appetizers
|
Chicken and turkey recipes
|
Snacks
Hot honey chicken tenders recipe
Appetizers
|
Chicken and turkey recipes
|
Snacks
Baked chicken wings recipe
No bake desserts
|
Snacks
Fruit and nut chocolate bark recipe
Appetizers
|
Snacks
The best buttermilk herb dip
Appetizers
|
Seafood
|
Snacks
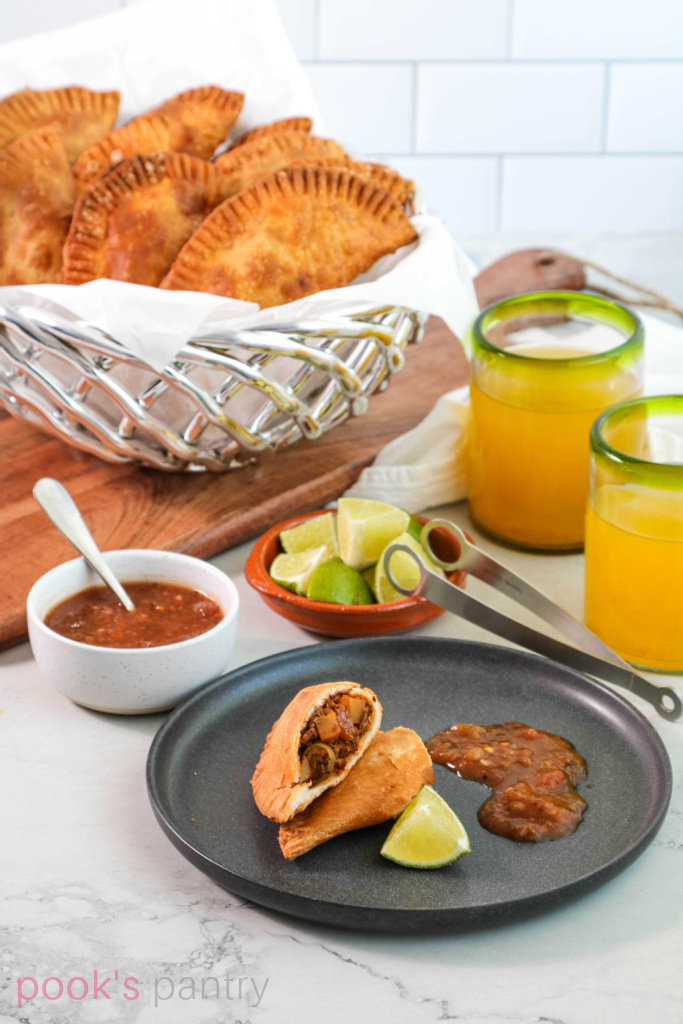
Langostino empanada recipe
Beef and lamb recipes
|
Snacks
Cuban beef empanada recipe
Fall
|
Snacks
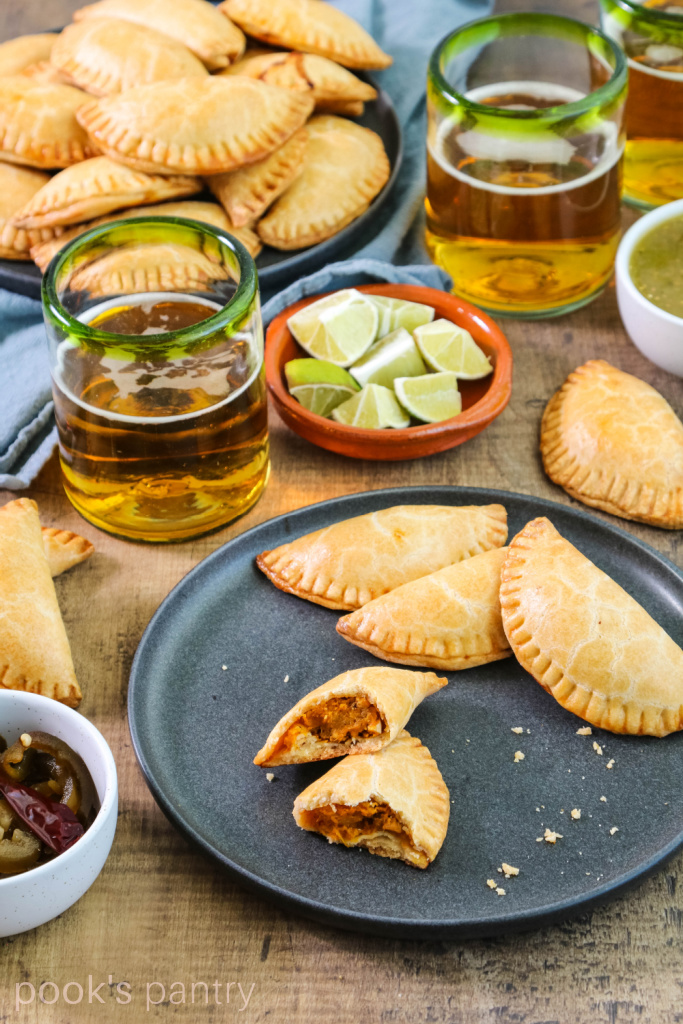
Savory pumpkin empanadas from scratch
Fall
|
Snacks
|
Squash recipes
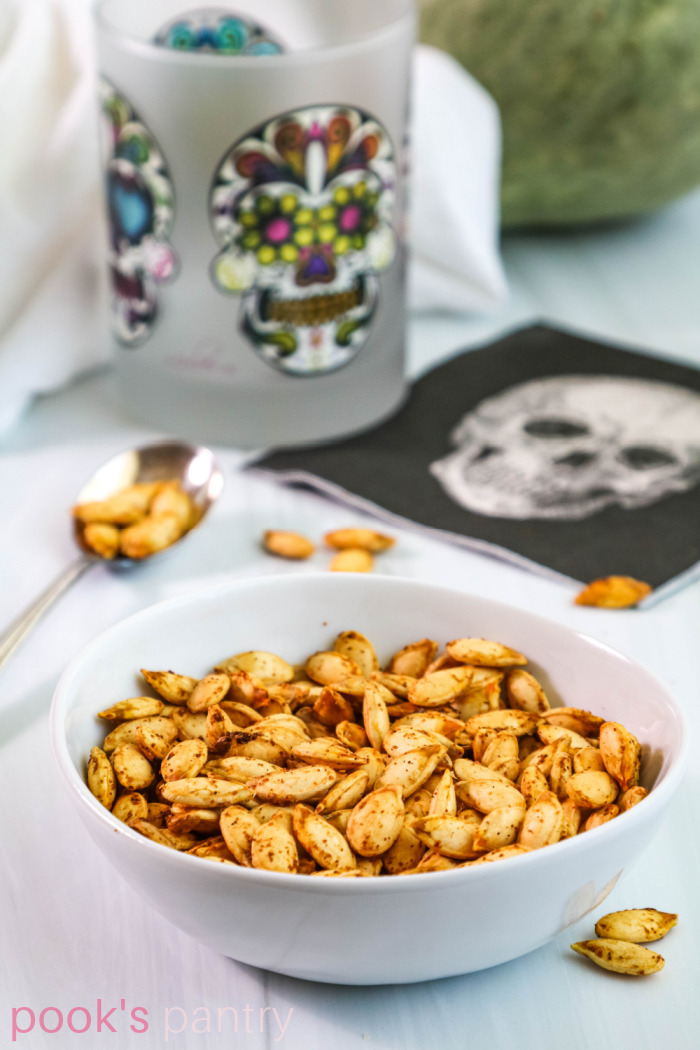
Easy roasted Hubbard squash seeds
Desserts
|
Fall
|
Snacks
Pumpkin empanada recipe from scratch
Dinner
|
Potato recipes
|
Snacks
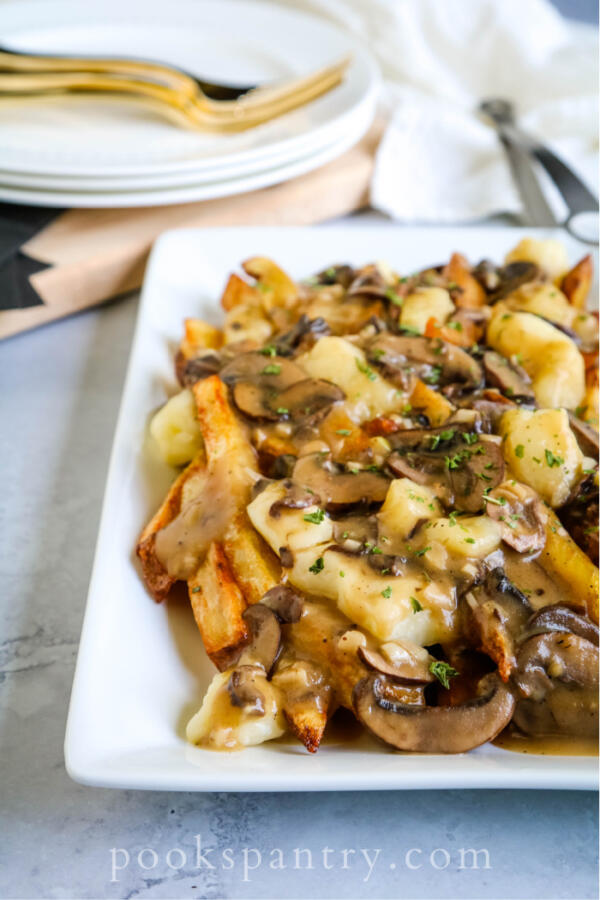
How to make vegetarian poutine recipe
Snacks
Roasted shishito peppers
Appetizers
|
Side Dishes
|
Snacks
|
Summer
|
Veggie cake recipes
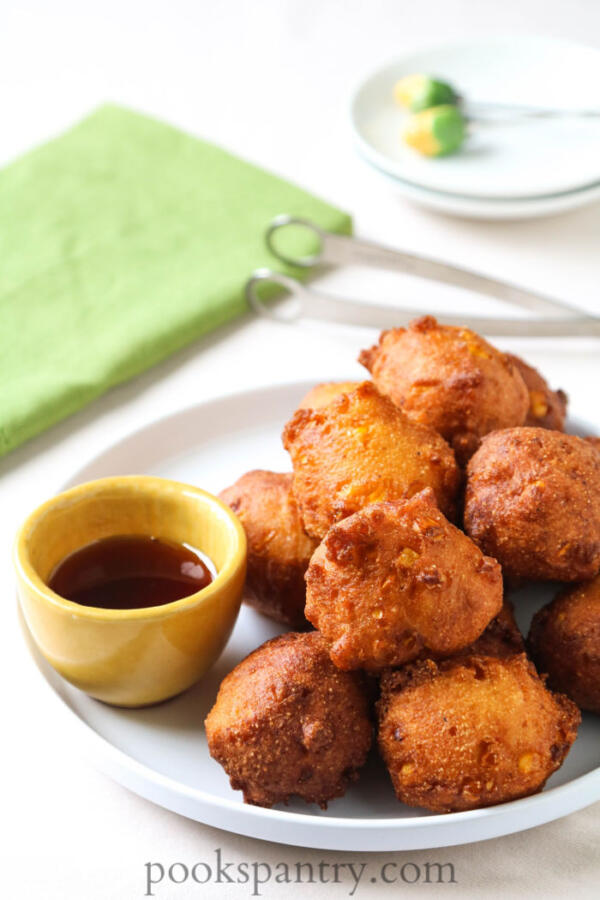
Corn Fritters Recipe from scratch
Condiments
|
Snacks
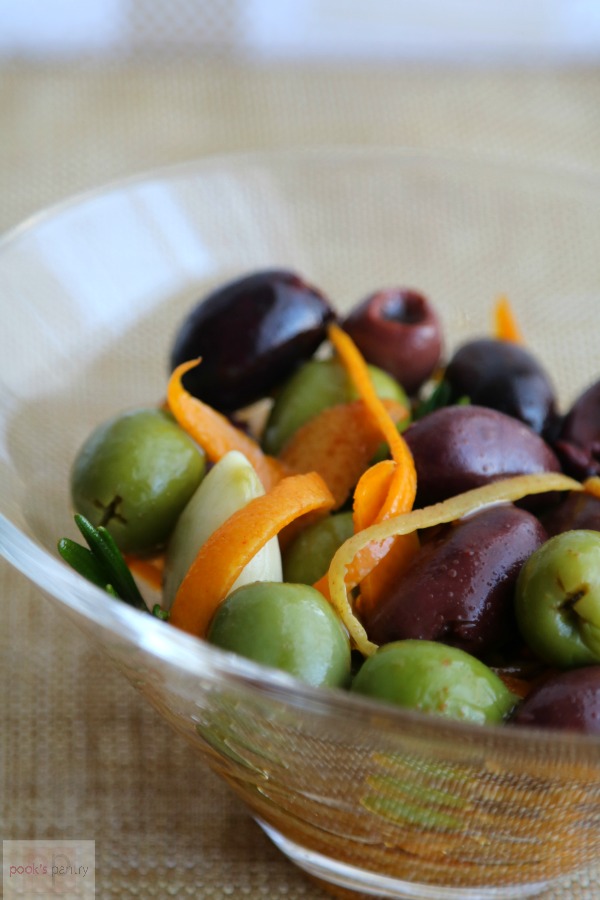
Easy, Spanish-Style Marinated Olives
Snacks
|
Spice blends / Seasonings
Stove-Top Island Spice Popcorn with Coconut Oil and Turmeric
Scroll to top
Scroll to top
Home
Recipe Index
About
Browse By Diet
Toggle child menu
Expand
dairy-free
gluten free
keto
vegan
vegetarian
Appetizers
Salads
Side Dishes
Dinner
Toggle child menu
Expand
Beef and lamb recipes
Chicken and turkey recipes
Pork recipes
Seafood
Drinks
Toggle child menu
Expand
Cocktails
Non-alcoholic & Mocktails
Desserts
Toggle child menu
Expand
Biscotti recipes
Brownies and bars
Cake recipes
Cookie recipes
Cupcake recipes
Ice Cream and Popsicles
Icing and Frosting
No bake desserts
Rum ball recipes
Tarts and Pies
Toggle Menu Close
Search for:
Search