

Cherry cobbler recipe with fresh cherries
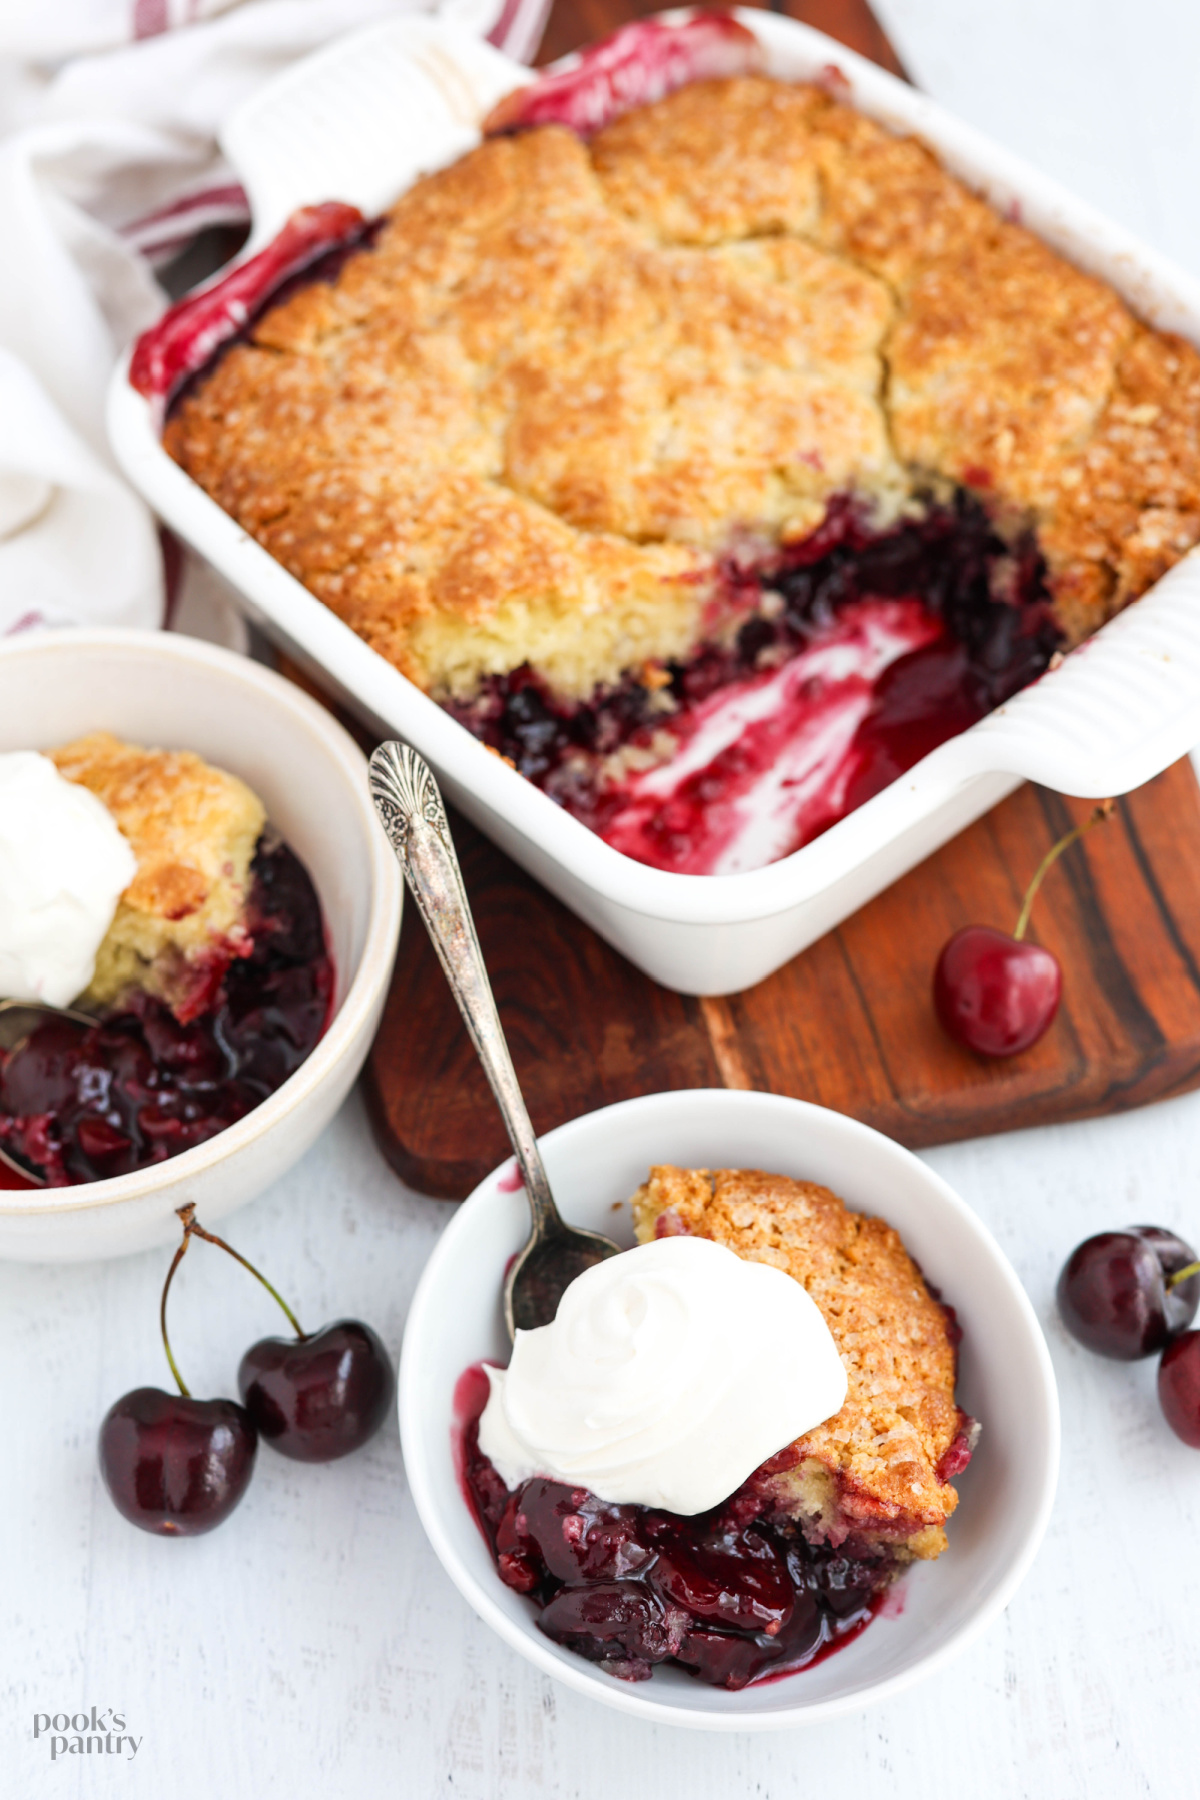
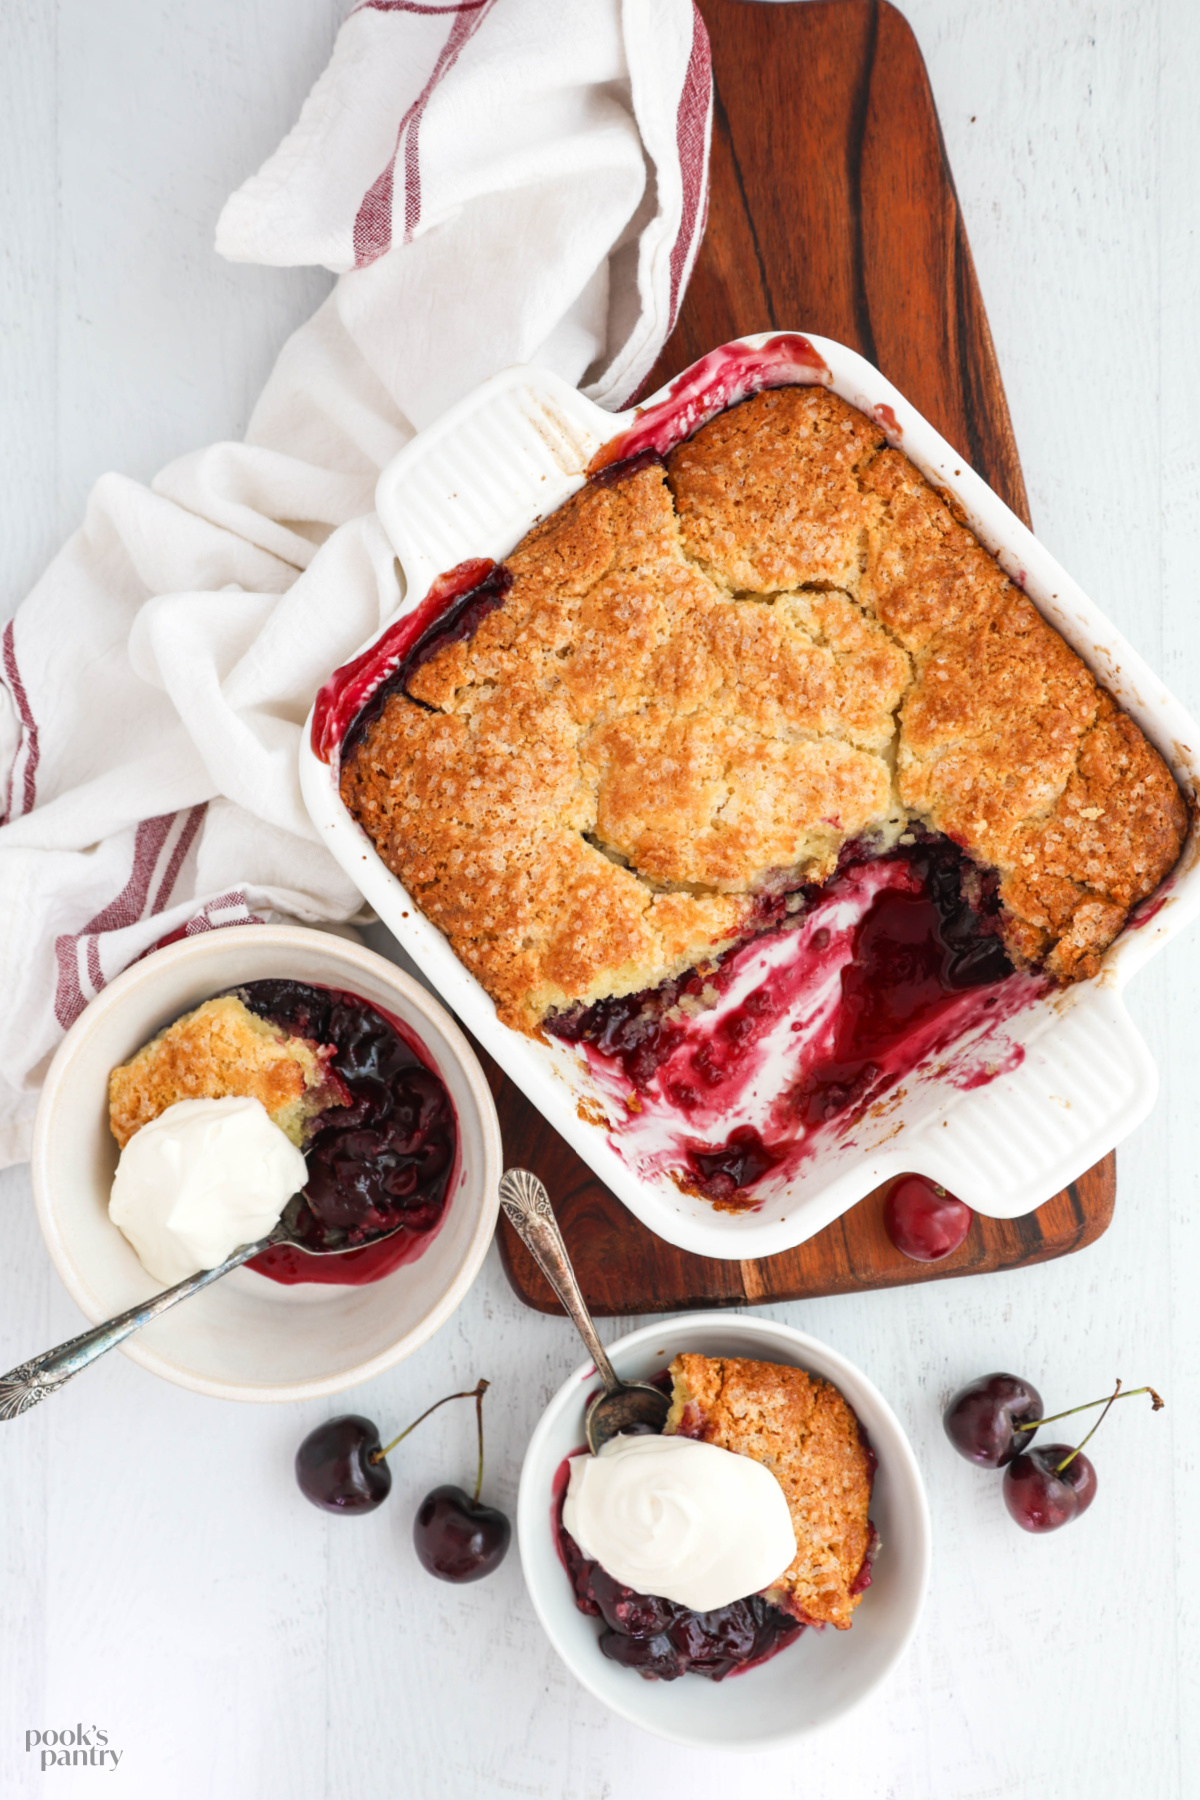
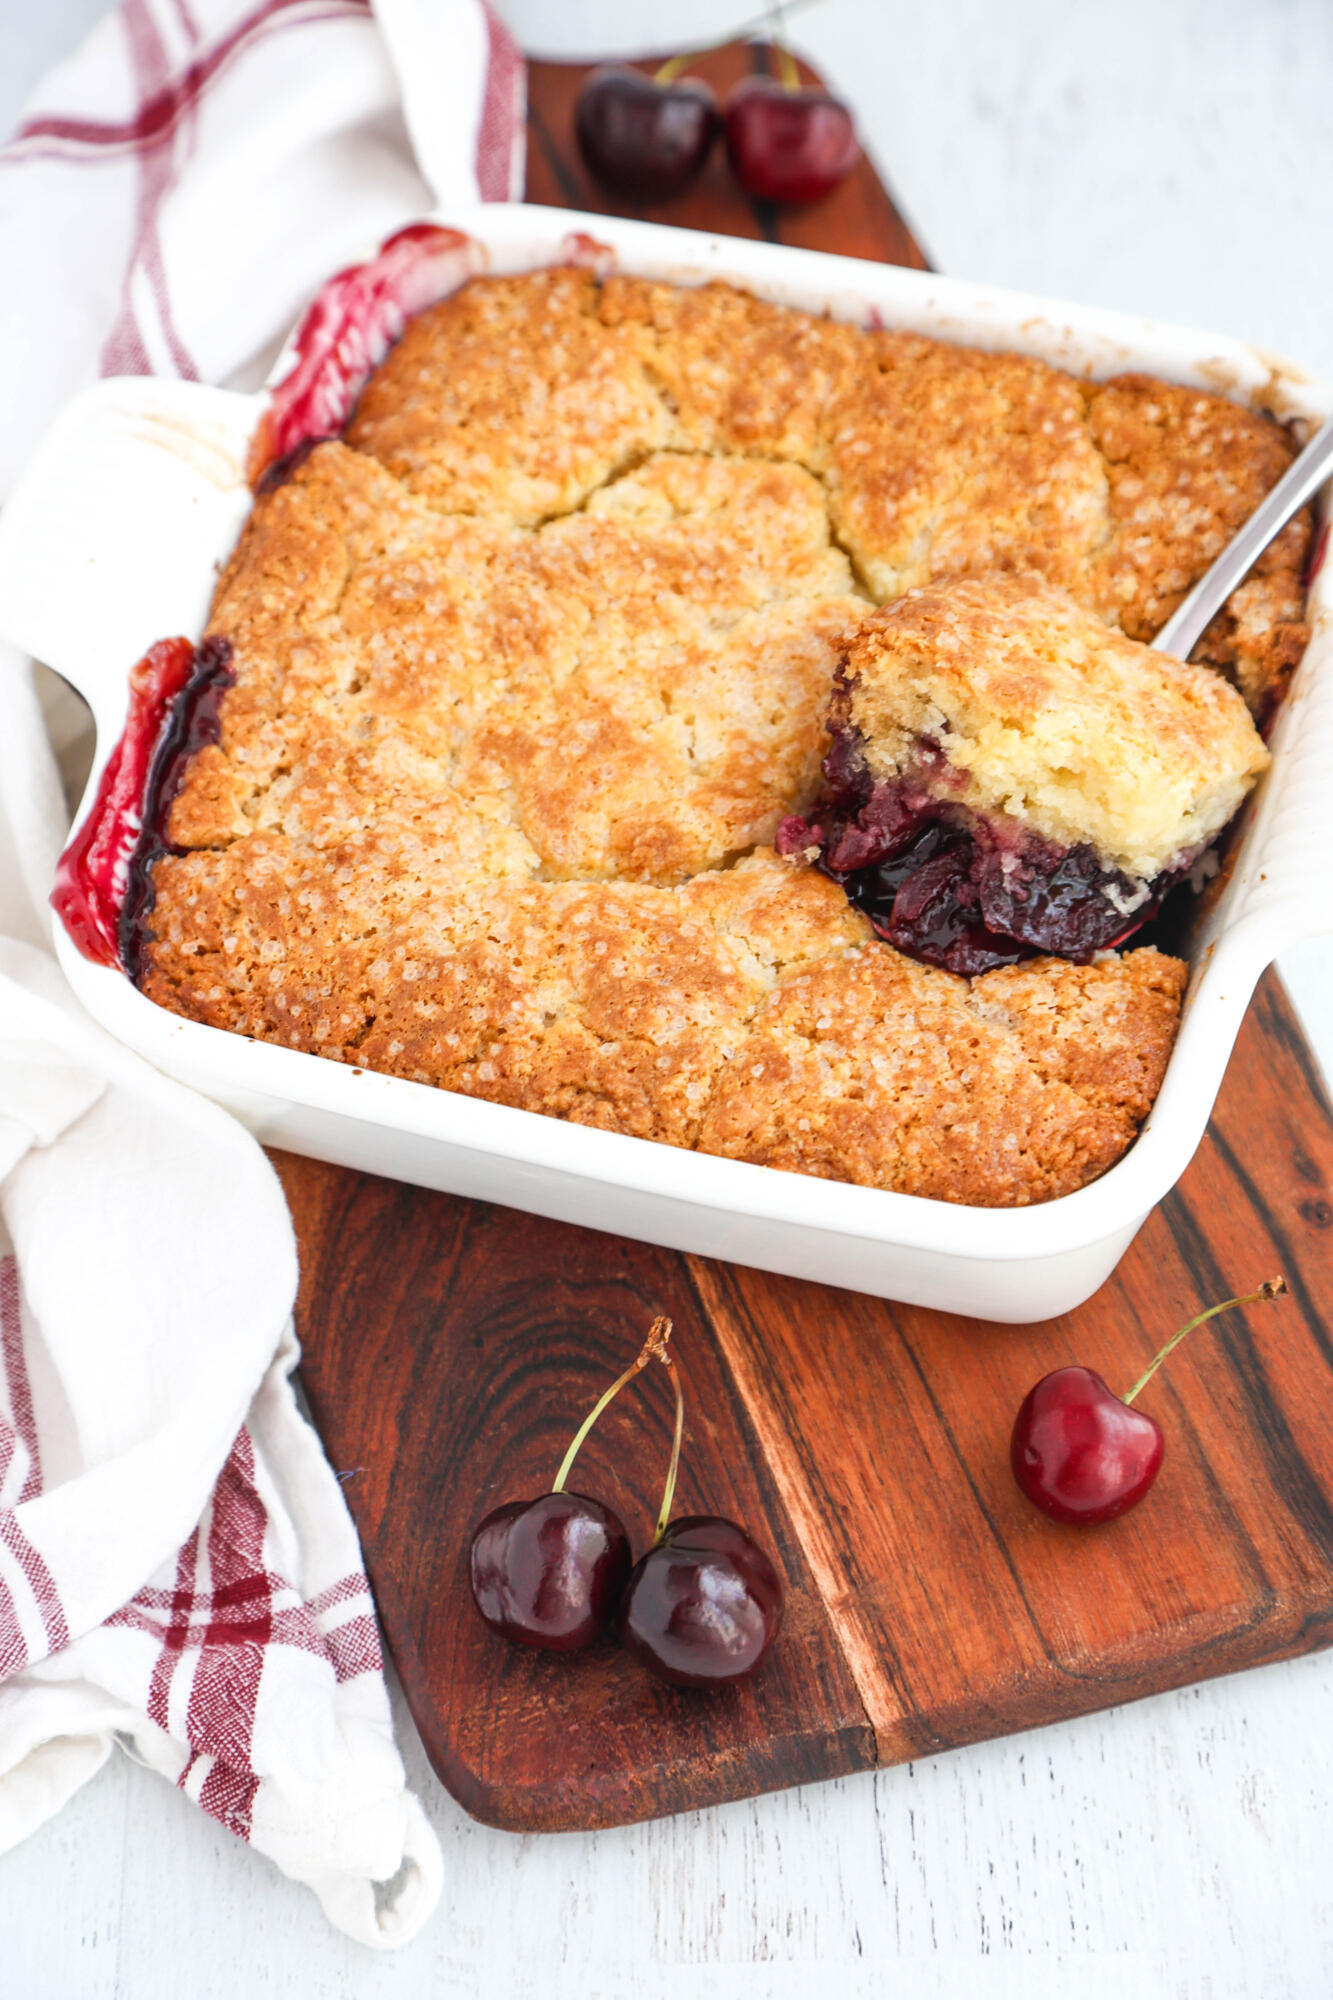
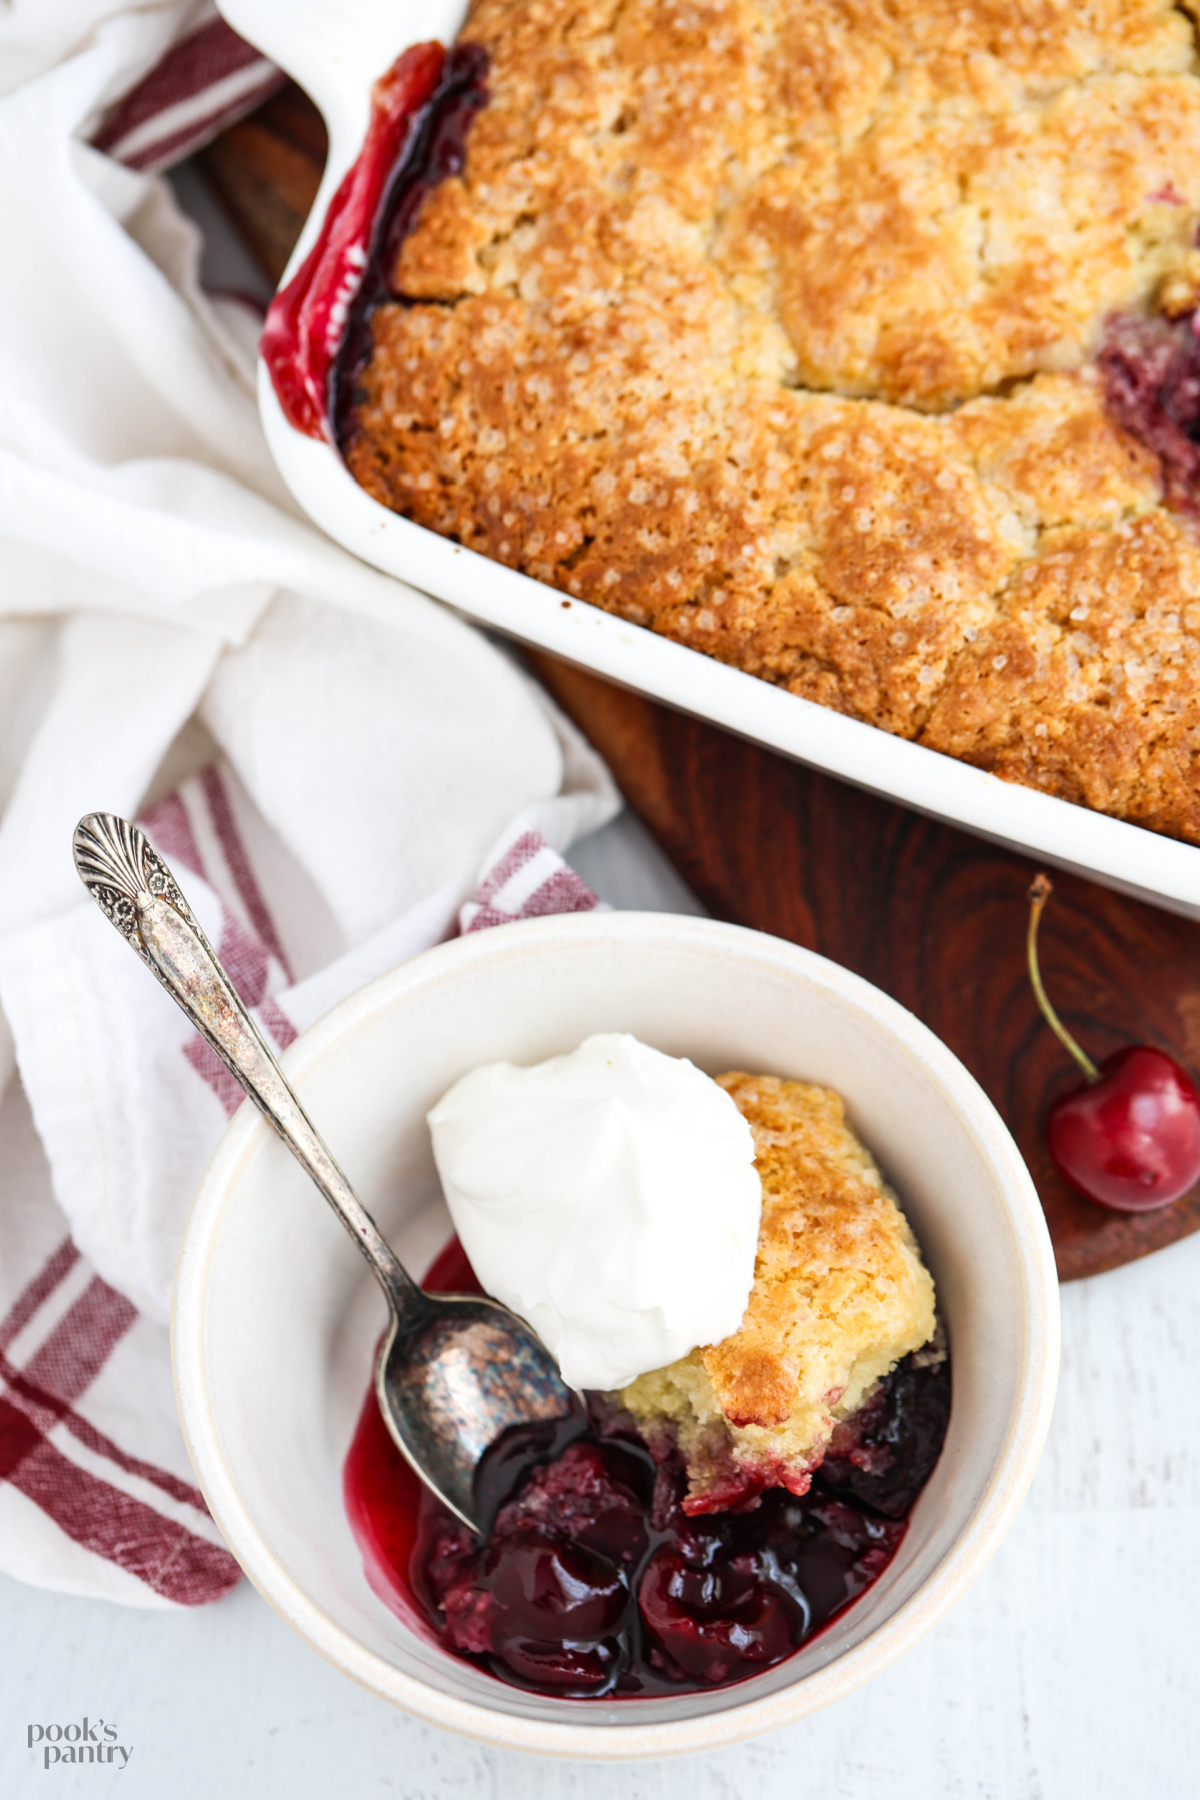
This cherry cobbler recipe is made from scratch with fresh summer cherries under a sweet, buttery biscuit topping. The cherry filling bakes until juicy and thickened, while the biscuit topping bakes up fluffy inside and golden brown on top. It’s an easy, old-fashioned dessert that is perfect for a crowd.
You may also be interested in my loquat cobbler and my cherry crisp recipes. For ease of browsing, you can find all of my desserts in one place.
Why You’ll Love This Recipe
🍒 Simple and seasonal — The juicy cherries are the star of this dessert and they pair perfectly with the buttery topping.
🍒 Minimal effort — Most of the work is simply pitting the cherries and mixing the topping.
🍒 No mixer required — The cobbler topping comes together by hand.
Pook’s Pantry participates in affiliate programs. If you make a purchase through one of my links, I may earn a small commission. For more information, please see my disclosure policy.
Fresh Cherry Cobbler
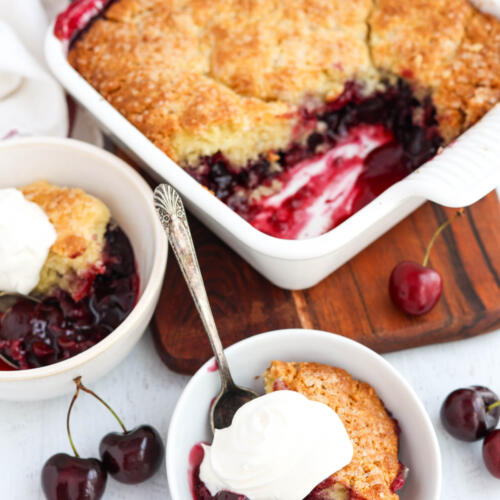
Making a fruit cobbler requires barely more than a bit of mixing, and the entire endeavor is done in about an hour. It is one of my go-to summer desserts for that reason alone. It doesn’t require much effort, nor does it take all day. Top it with freshly whipped cream or vanilla ice cream, and you’ve got yourself one spectacular treat.
What Is Cherry Cobbler?
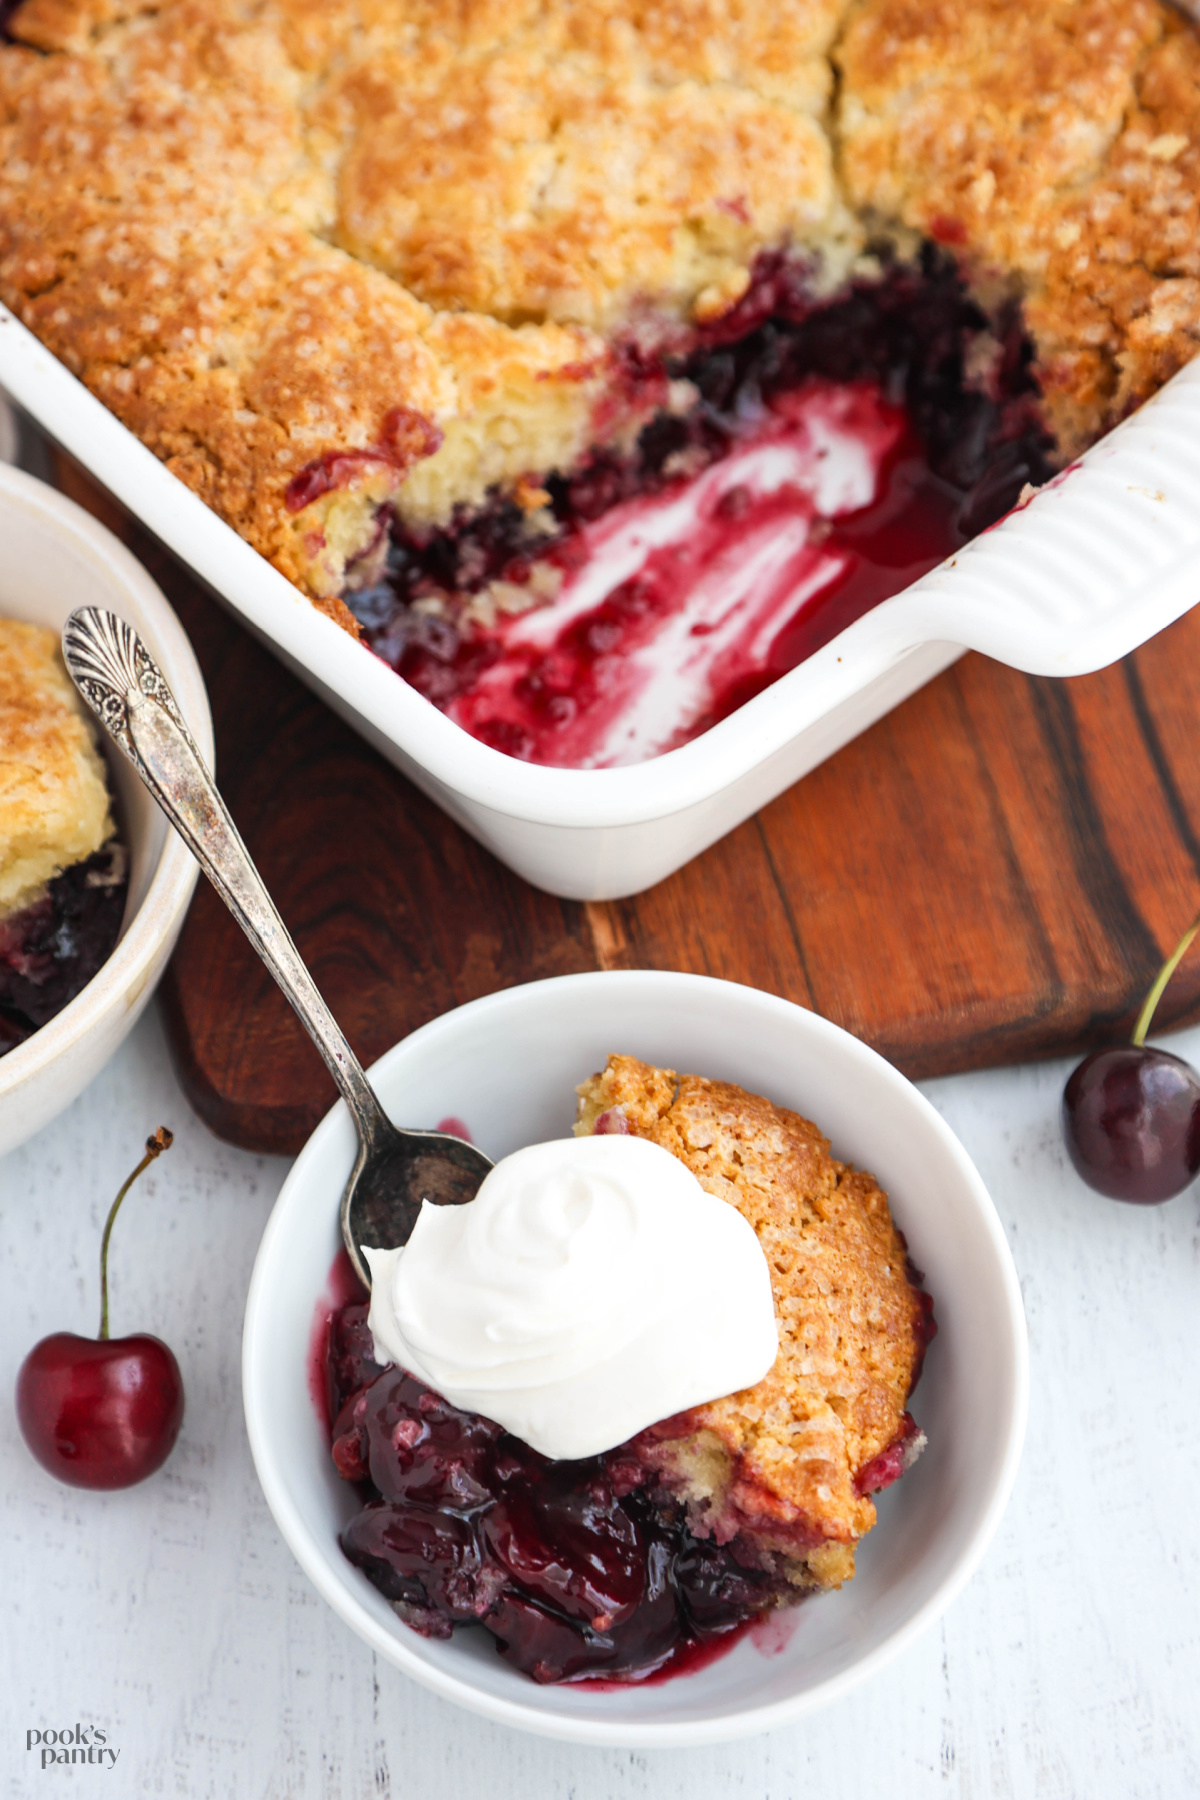
A cobbler is sweetened, cooked fruit topped with fluffy biscuits, although in some areas, it can be more like a batter or dumpling. A cherry cobbler is one of the easiest ways to turn fresh summer fruit into a warm, homemade dessert.
Cobbler vs. Crisp vs. Crumble
While all three desserts pair baked fruit with a topping, the toppings are what set them apart.
- Cobbler has a biscuit or cake-like topping that’s dropped or spooned over the fruit before baking. As it bakes, the topping puffs up and creates golden sweetened biscuits with bubbling fruit peeking through.
- Crisp is topped with a streusel made from butter, flour, sugar, and almost always oats. The oats become crisp and crunchy in the oven, giving the dessert its name.
- Crumble is similar to a crisp but typically doesn’t include oats. Instead, the topping is a buttery mixture of flour, sugar, and butter that bakes into large crumbs on top, like a coffee cake or crumb cake.
Cherry Cobbler Recipe Ingredients
For the filling
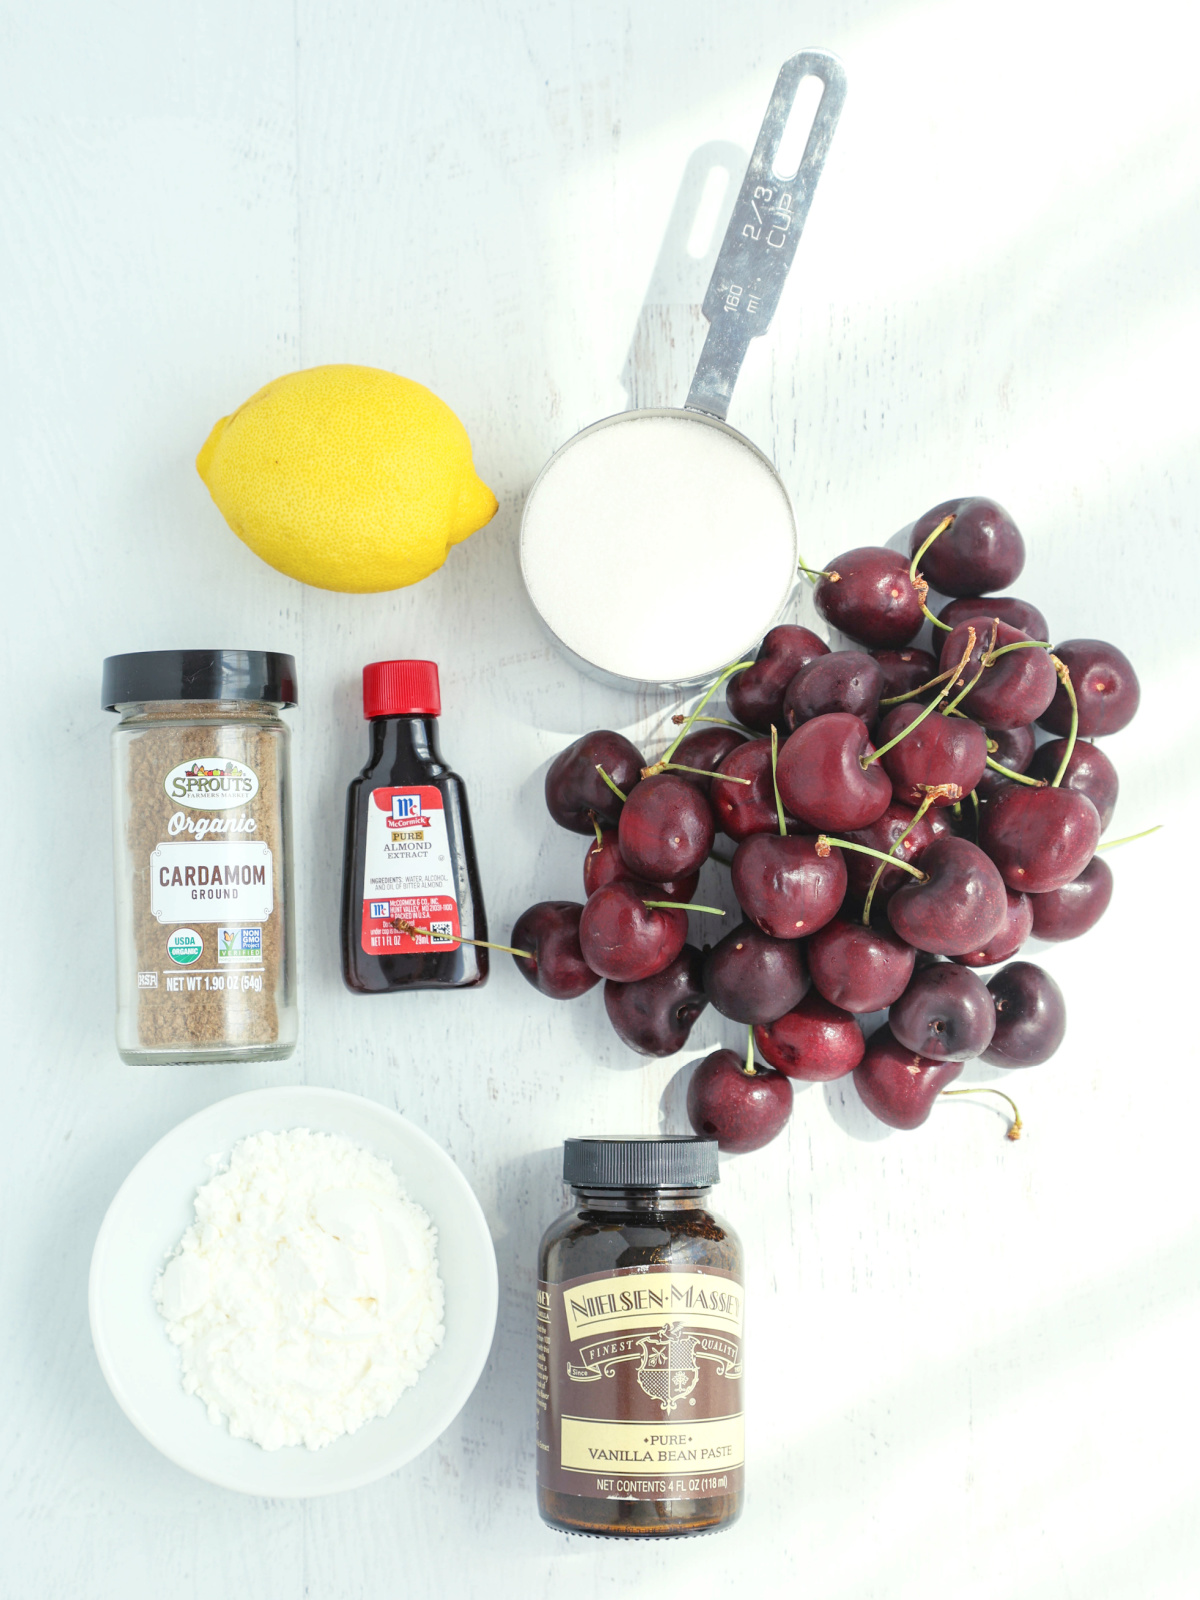
- Fresh cherries — The star of the filling; use sweet, ripe cherries for the best flavor.
- Sugar — Sweetens the cherries and helps draw out their juices as they bake.
- Cornstarch — Thickens the cherry juices into a glossy, spoonable filling.
- Lemon juice and zest — Adds a little acidity to balance the sweetness.
- Vanilla extract — Adds warmth and rounds out the flavor.
- Almond extract — Enhances the natural flavor of the cherries.
- Cardamom — This warm spice pairs beautifully with cherries.
For the biscuit topping
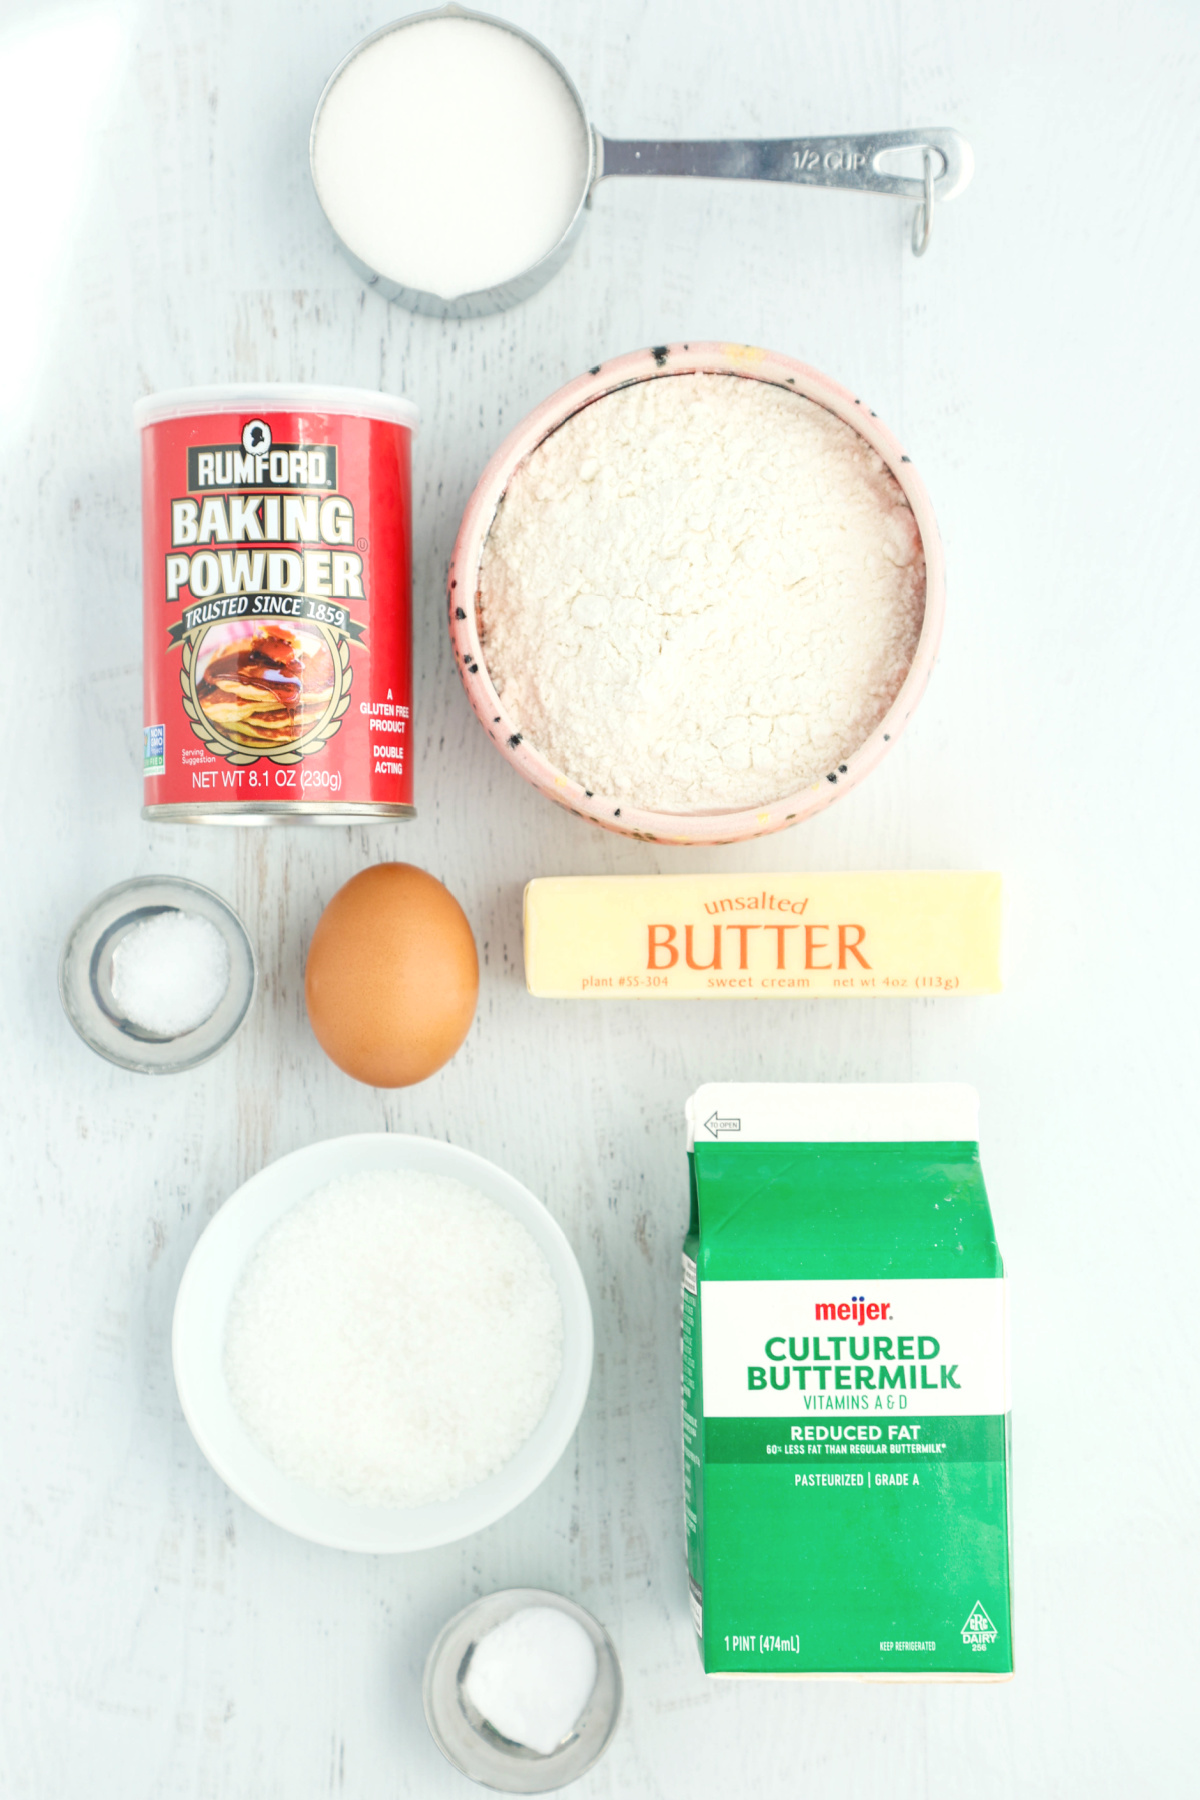
- All-purpose flour — Forms the base of the tender biscuit topping.
- Baking powder and baking soda — Helps the topping rise and become light and tender. Soda reacts with the acid in the buttermilk to make the topping fluffy.
- Sugar — Sweetens the biscuit topping and helps it brown in the oven.
- Salt — Balances the sweetness and enhances the flavor.
- Butter — Adds richness and creates a tender, buttery topping.
- Buttermilk — Brings the dough together and keeps the topping tender.
How to make
Here’s a quick summary of how to make this cherry cobbler recipe. Please see the recipe card at the bottom of this post for the full recipe.
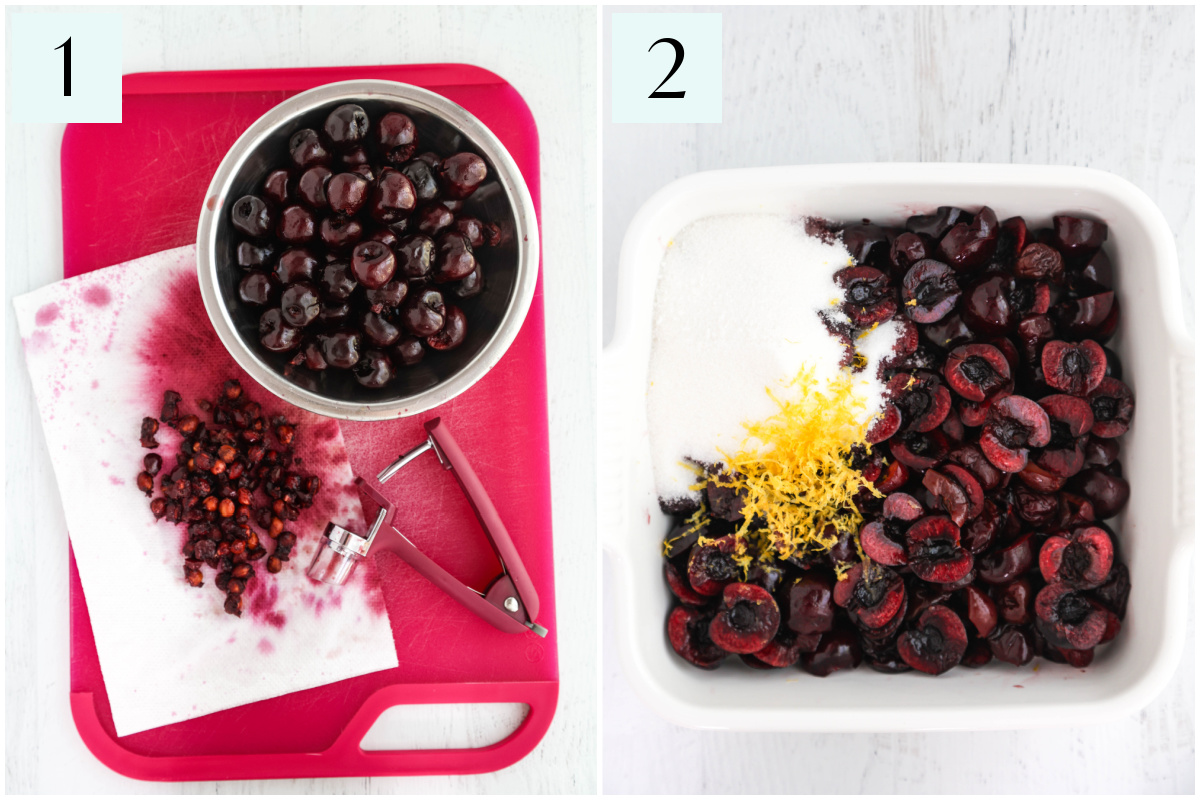
- Pit the cherries and slice in half.
- Combine cherries with remaining ingredients for the filling in a square baking dish, and set aside.
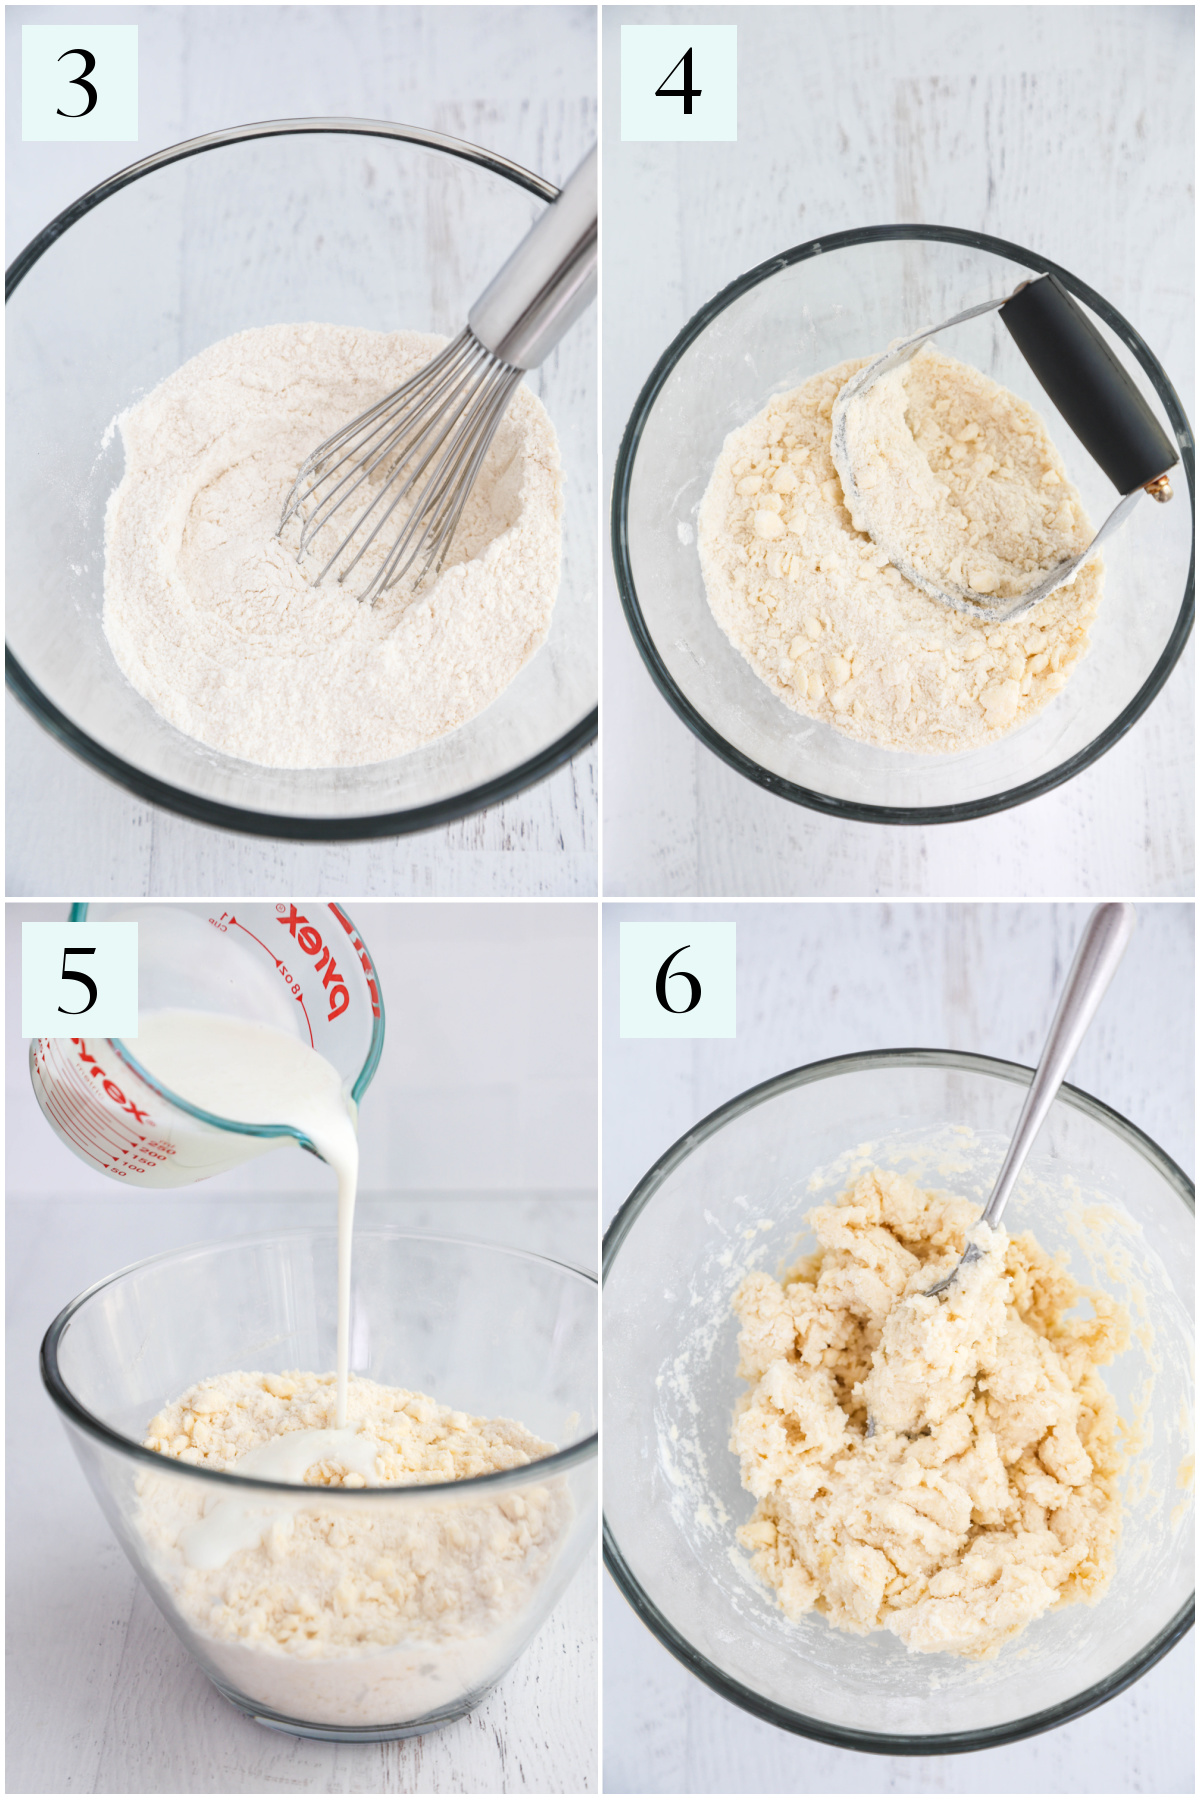
- Whisk dry ingredients for the biscuit topping together in a mixing bowl.
- Cut in the butter with a pastry blender, or a fork, or rub in with your fingers.
- Pour the buttermilk into the dry ingredients.
- Use a fork to gently blend together.
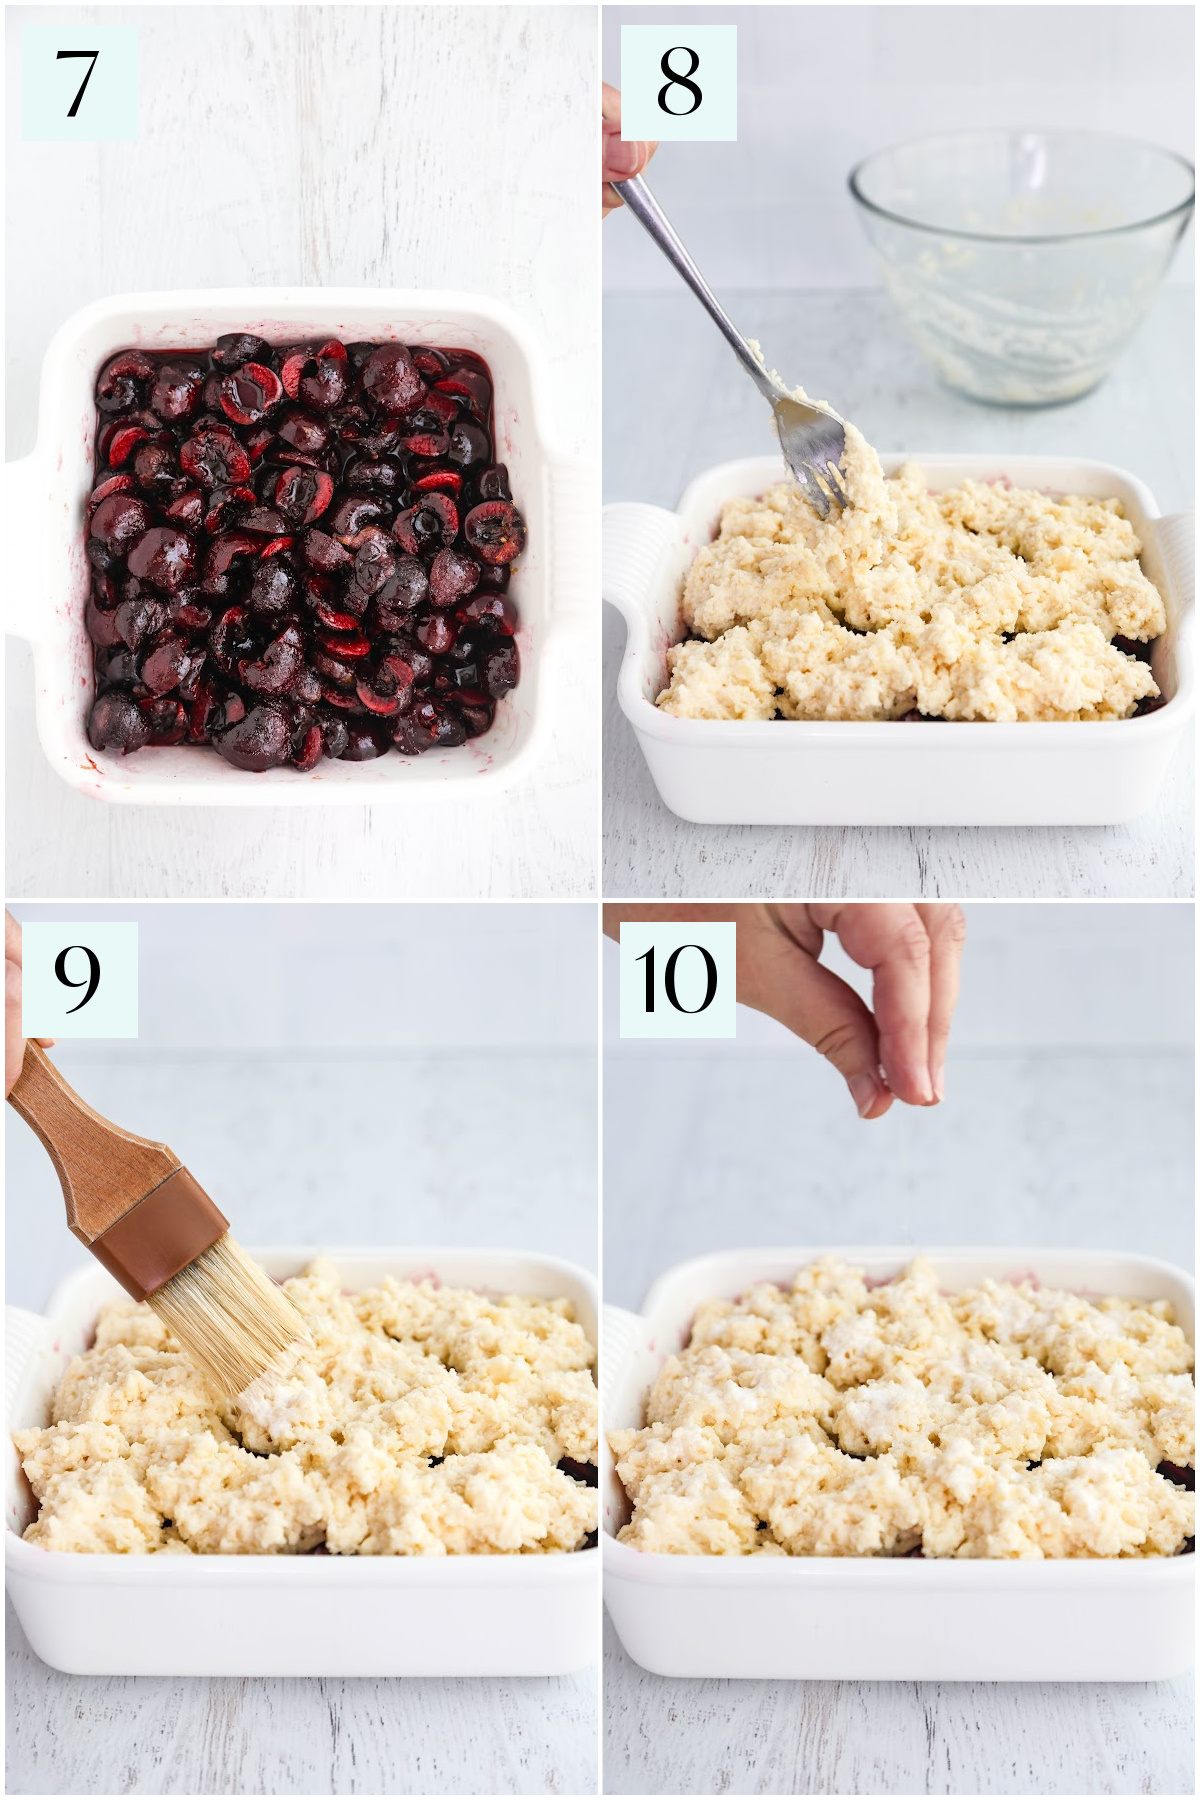
- Stir cherry mixture again after it has released some juice.
- Dollop biscuit topping over the cherries.
- Dot the biscuits with egg wash or buttermilk.
- Sprinkle with coarse sugar before baking.
Would you like to save this recipe?
How to Pit Fresh Cherries
Pitting fresh cherries is essential to making this dessert. My preference is for a cherry/olive pitter, but it can also be done with a chopstick or sturdy straw poked through the stem side to push the pit through the bottom.
FAQ’s
Yes. You don’t need to thaw them first, but frozen cherries may release more liquid, so the cobbler may need a little extra cornstarch or baking time to thicken.
The cobbler will be a little “juicy” when it first comes out of the oven, but the filling should thicken as it cools. Use cornstarch to help the cherry filling thicken, and bake the cobbler until the filling is bubbling, especially in the center, and allow it to rest before serving.
The topping should be golden brown and cooked through (I check the center with a toothpick or wooden skewer to make sure it isn’t raw), and the cherry filling should be bubbling around the edges and in the center. If the biscuit top is browning too quickly, loosely cover it with foil while the filling finishes cooking.
Storage / Freezing Information
To store: The cooled cobbler can sit at room temperature for a day or two, covered with plastic wrap or foil. I wouldn’t leave it on the counter for longer than that, because of bacteria and mold. To keep it longer than a day or two, it’s best to store it in an airtight container, or wrapped tightly with plastic wrap in the refrigerator for up to 5 days.
To freeze: Wrap the cooled cobbler tightly with plastic wrap, pressed directly on to the surface, followed by a layer of aluminum foil. Store in freezer for up to 3 months.
Variations and substitutions
- Berries – Use a mixture of cherries and berries. Raspberries, blueberries, or blackberries are all great options.
- Tart cherries – Tart cherries would be great in this cobbler recipe. You’ll need to increase the sugar to 3/4 cup – 1 cup. Taste the cherries to determine how tart they are before starting.
Chef Tips for the Best Cherry Cobbler
- Taste the cherries before adding sugar.
- Don’t skip the cornstarch.
- Leave space between spoonfuls of topping so steam can escape.
Helpful tools and equipment
- A cherry pitter makes quick work of pitting fresh cherries.
Please share
If you love this recipe, please give it 5 stars!
I hope you love this cherry cobbler recipe as much as we do! Please consider rating and/or commenting.
Your shares help this site to grow and I appreciate it so much. Do you know someone who would like this? I’d love it if you would share it on Facebook or pin it to your favorite recipe board.
Cherry Cobbler Recipe
Ingredients
Cherry Cobbler Filling
- 1.5 lbs. fresh cherries, pitted and halved *I used sweet Bing cherries, weighed AFTER pitted and halved
- 3 tablespoons fresh lemon juice
- 1 tablespoon lemon zest
- ⅔ cup sugar 134g
- 2 tablespoons cornstarch
- 1 teaspoon vanilla extract
- ½ teaspoon almond extract
- ½ teaspoon ground cardamom
Cherry Cobbler Biscuit Topping
- 1 cup all-purpose flour 120g
- ½ cup sugar 100g
- 1 ½ teaspoons baking powder
- ½ tsp soda
- ½ tsp. salt
- 8 tablespoons cold butter 1 stick / 113g, cut into small pieces
- ½ cup buttermilk 120mL
- 1 egg whisked with 1 tablespoon buttermilk, optional
- 2 tablespoons coarse sanding sugar optional
Instructions
- Preheat oven to 350°F / 180°C. Wash cherries, then remove stems and pits. Slice cherries in half, and place in a square baking dish.
- Add remaining ingredients for cherry filling to the sliced cherries and stir to combine. Set aside.
- In a medium mixing bowl, whisk together dry ingredients (flour, sugar, baking powder, baking soda, and salt) for the biscuit topping.
- Cut cold, diced butter into flour mixture using a pastry blender or a fork until there are no pieces of butter larger than a pea.
- Pour in buttermilk, and stir gently with a fork until the mixture comes together to form a sticky dough. *Make sure to scrape the bottom of the bowl to incorporate all of the flour.
- Give the cherries a quick stir in the baking dish before dropping spoonfuls of biscuit dough over the filling, leaving a bit of space between the dough for steam to escape.
- *This is optional: If you want a shiny biscuit topping, LIGHTLY brush the top of the dough with buttermilk, cream, or an egg whisked with a tablespoon of buttermilk. Do not get the biscuit topping too wet. Sprinkle coarse sugar over the top.Bake for 45 – 50 minutes, or until the biscuits are baked through and the topping is bubbling. Let the cobbler cool slightly before serving.
Chef’s Notes
- A friendly piece of advice – wear dark clothing or a dark apron while pitting cherries. They will stain! Also, your cutting board.
- I experimented with increasing the biscuit topping by 1.5 times the recipe. It was TOO MUCH. Don’t be tempted, you’ll be disappointed. It soaked up too much of the juicy filling.
- The egg wash on the biscuit is optional, but I highly recommend the coarse sugar – it gives great crunch.
- I used a square baking dish because I don’t like a thin cobbler. A 9×13 pan can also be used if you don’t have a square baking dish, but you’ll need to keep an eye on the filling. Because there is more surface area, it will cook faster, risking overcooking.
- If you don’t have a square baking dish, but you do have cake pans – use them. It will be fine.
Nutrition
Nutrition Disclaimer
Nutritional information is an estimate provided to you as a courtesy. Use your preferred nutritional calculator using the products and brands you are using for exact information.
Buy me a coffee? If you ever wondered how you can lend a hand, show a little support or just say “thanks” for the recipes? You can “buy me a coffee” to help me keep the free recipes coming.
Thanks for stopping by! Have a delicious day 🙂

Questions? Send me an email, I’m happy to help. I’d love to send you weekly tips and recipes, so you can get updates about what’s happening in the kitchen!
Hello! All photos and content are copyright protected. Please do not use my photos or recipe (other than for personal use) without prior written permission. Thank you!