Fresh cherry crisp recipe
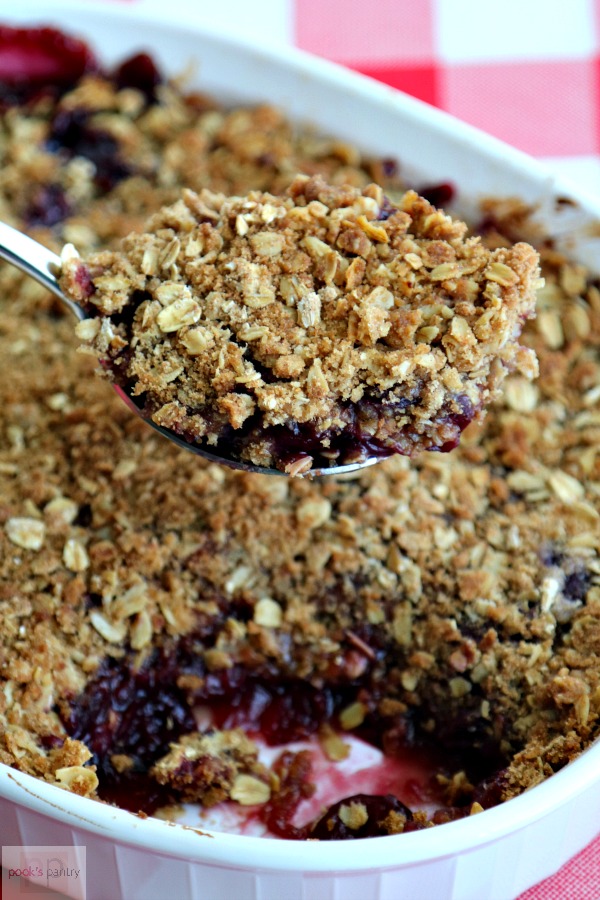
This fresh cherry crisp recipe is made from scratch with only a handful of ingredients. Like all of my fresh cherry recipes, this crisp is made with sweet cherries. It is perfect for taking to summer gatherings or potlucks. The crunchy, sweetened oat topping puts the “crisp” in this old fashioned cherry crisp.

Making a crisp couldn’t be easier. It’s nothing more than mixing a few things together and sliding it into the oven. This is a perfect dessert for those just learning how to bake and also those of us who happen to love cherries. No pie filling here or cake mix of any sort.
Fresh cherry crisp recipe
The best cherry crisp recipes start with fresh cherries. A cherry pitter makes quick work of it.
Please don’t let pitting cherries deter you from making this cherry crisp recipe. It is quite literally the most taxing thing you’ll do and it requires no more effort than putting a cherry into the pitter and squeezing. It’s a great mindless activity to do while you are chatting on the phone.

If you have kids or grandkids, this is the perfect time to get them involved. With a little instruction and supervision, they can do this for you. However, a word of caution: don’t wear white. If your cherries are super juicy like mine were, there will be a little splatter.
Ingredients
This is all you need for the cherry crisp filling. Fresh cherries, sugar, flour and a little fresh lemon juice.

The most important ingredient is cherries. Fresh, plump cherries, to be exact. Look for fruit that isn’t wrinkled or dried out looking. When making a cherry crisp with fresh cherries, look for smooth skin and firm fruit. If the cherries look a bit brown, bruised or puckered, that means they have seen better days and you should pass over them.
However, if fresh cherries aren’t in season, you can use frozen fruit. The season is very short, so using frozen fruit if you can’t get fresh is the only way to go. I’ve made it with frozen cherries in the winter and it’s still really good.
Procedure
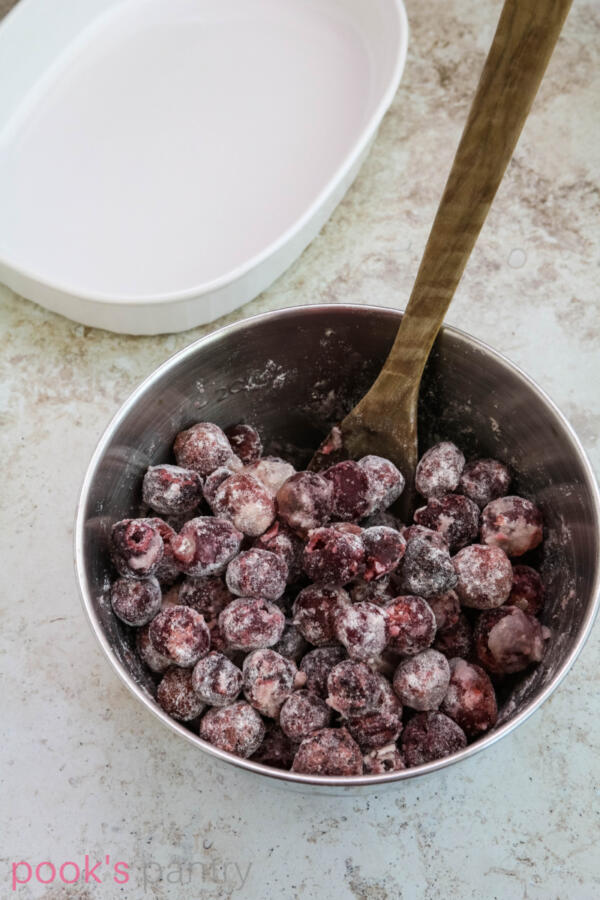
Once your cherries are pitted, mix them up with a bit of flour, sugar and lemon juice.

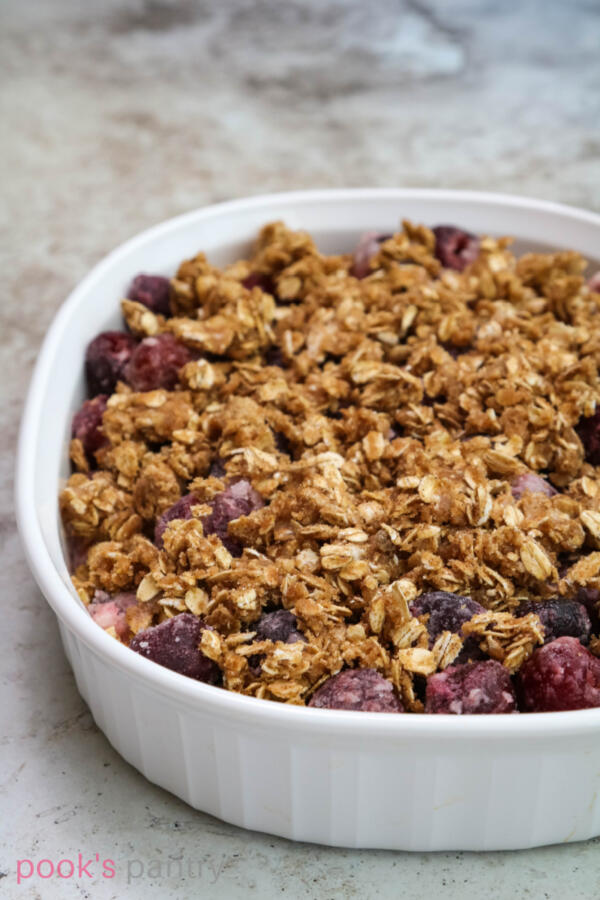
Then pour them into your baking dish and sprinkle the crisp topping over the entire thing and bake.

Cherry crisp topping
The buttery oat topping for this crisp is made out of flour, oats, brown sugar, butter, cinnamon and a pinch of salt.

Use your fingers to work the butter into the flour and oat mixture, or use a pastry cutter to cut it in. This can be a little easier if you have issues with your hands.

It will resemble wet sand or really coarse crumbs when it is done. Sprinkle it over the cherry filling and bake.

For lovers of the crisp topping, double the recipe and add a layer on the bottom as well. You’ve just made a cherry crunch dessert.

This fresh cherry crisp is delicious as is, but a scoop of vanilla ice cream or a dollop of whipped cream would be great with it.
Fresh cherry recipes
This old-fashioned cherry crisp recipe is similar to what your Grandmother or Mom would have made. It’s very simple and easy. There are so many things to make with cherries, but here are a few of our favorites:
- Cherry chutney
- Cherry rum balls
- Sour cream cherry scones
- Cherry coconut rum slush
- Strawberry cherry spritzer
Please share
If you love this recipe, please give it 5 stars!

I hope you love this recipe as much as we do! Please consider rating and/or commenting.
Your shares help this site to grow and I appreciate it so much. Do you know someone who would like this? I’d love it if you would share it on Facebook or pin it to your favorite recipe board.

Fresh Cherry Crisp
Ingredients
For the Filling
- 5 cups cherries pitted and halved
- 1/2 cup sugar
- 1/4 cup flour
- 1 tbsp. lemon juice fresh
For the Topping
- 6 Tbsp. flour
- 1/2 cup oats old fashioned
- 1/2 cup light brown sugar packed
- 4 tbsp. unsalted butter cold, cut into small pieces
- 1 tsp. cinnamon
- pinch salt
Instructions
- Preheat oven to 375°F / 190°C / Gas mark 5.
- Make the filling – In a medium mixing bowl, combine cherries with flour, sugar and lemon juice. Pour into a 1.5 quart baking dish.
- Make topping – In a separate bowl, combine flour, oats, brown sugar, cinnamon and salt. Using a pastry blender, or your fingers, cut butter into flour/oat mixture until it resembles coarse crumbs.
- Sprinkle topping on top of cherries and spread to cover evenly.
- Bake for 40 – 45 minutes, until filling is bubbly and top is golden brown and crispy.
- Cool 10 – 15 minutes before serving.
Video
Notes
Nutrition
Thanks for stopping by! Have a delicious day 🙂

Questions? Send me an email, I’m happy to help. I’d love to send you weekly tips and recipes, so you can get updates about what’s happening in the kitchen!
Hello! All photos and content are copyright protected. Please do not use my photos or recipe without prior written permission. Thank you!
Originally published 8/14/17, most recent update 5/24/21.


Fabulous!!!
THANK YOU!!! I am so happy you liked it! 🙂
I made this and it’s delicious! I have a lot of cherries- can you freeze this?
Hi Megan! I’m so happy that you liked the crisp! Yep! You can freeze it 🙂 Assemble everything, wrap it up nice and tight and freeze. Thaw overnight in the fridge and bake.