Easy loquat jam recipe
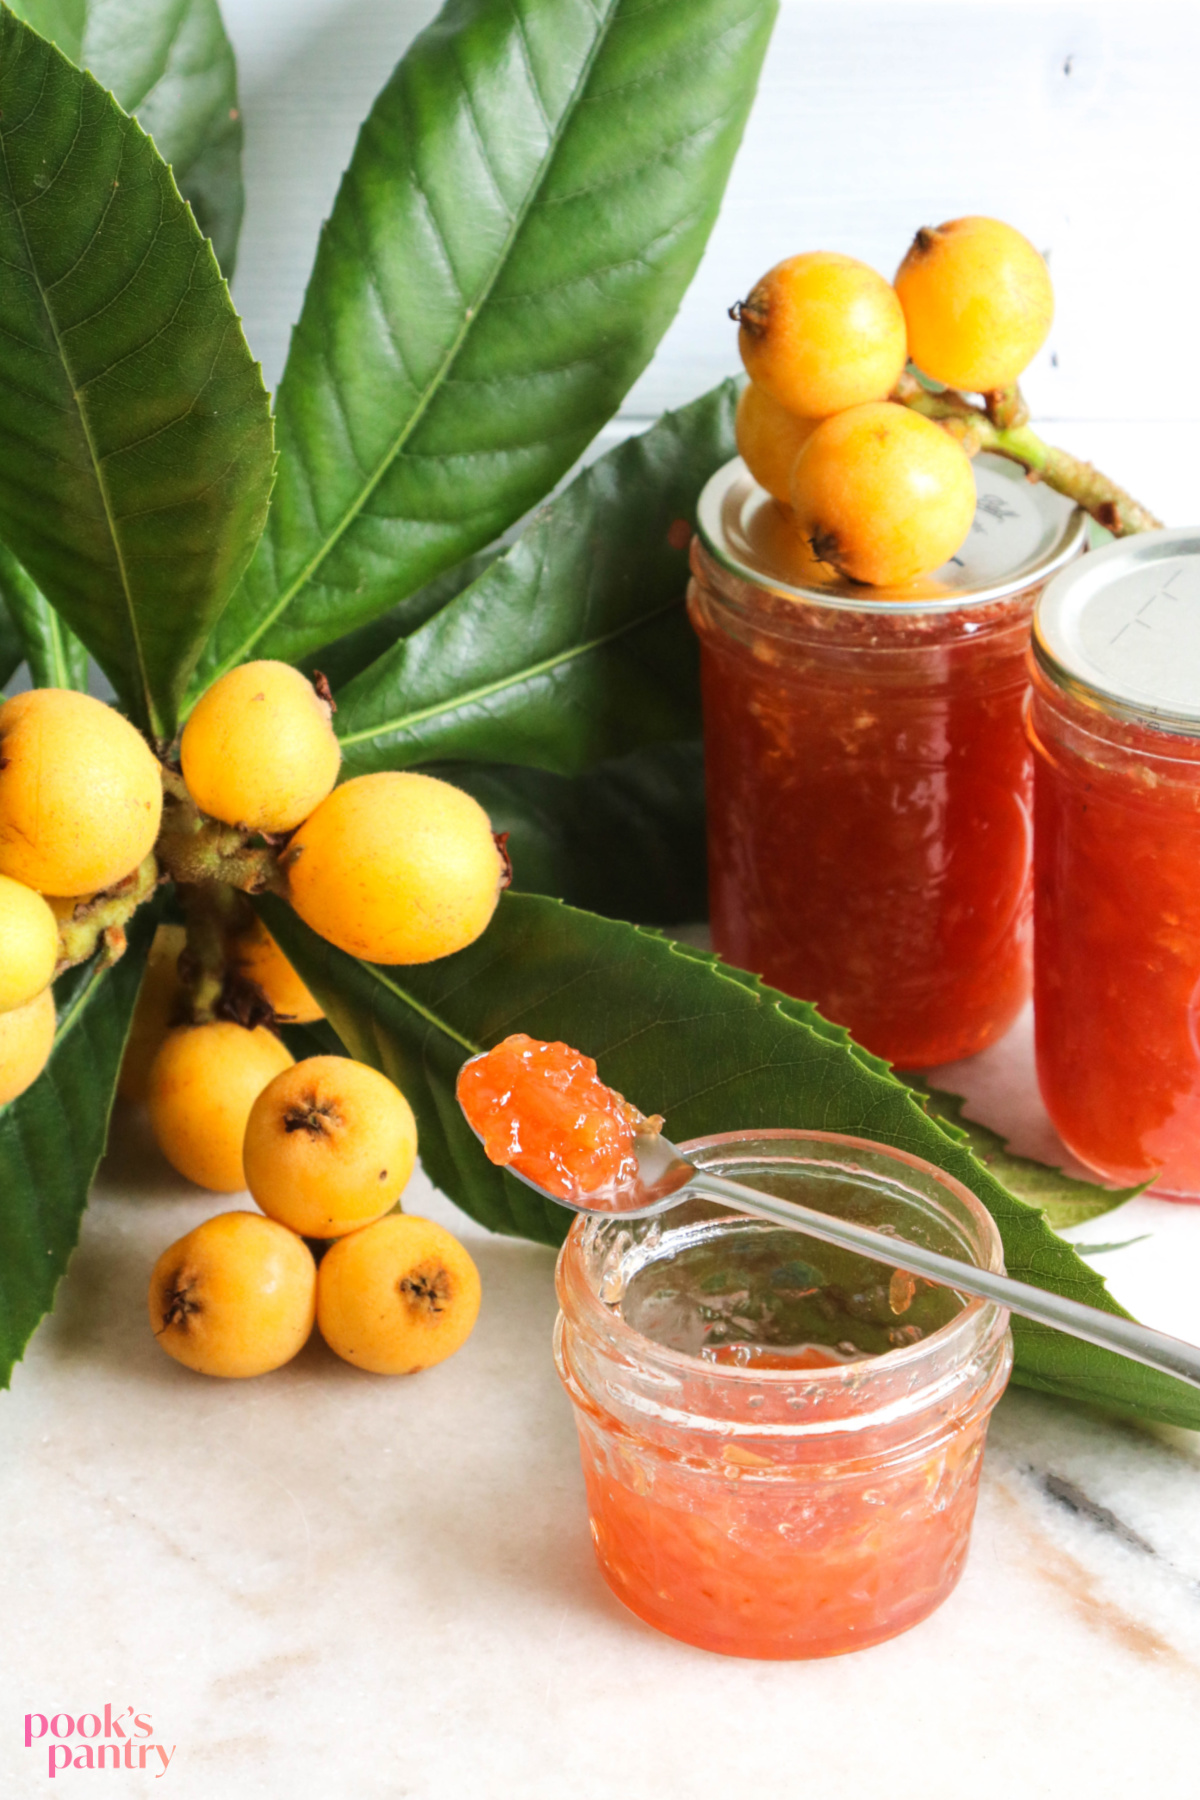
This easy loquat jam recipe is perfect for beginner jam makers, because the fruit is naturally high in pectin. The only thing you need are loquats, fresh lemon juice, sugar and time.
This loquat jam recipe is a basic jam recipe. Two to one ratio of fruit to sugar with a little lemon juice mixed in. Nothing else added in – no pectin, no spices, etc. It is as basic as it gets, which makes it perfect for beginners.
I’ll give you variations and substitutions where I can, plus helpful tips and tricks for success. Read on for this info as well as the recipe. If you’d like to skip straight to the recipe, use the jump to recipe button at the top of the post.
You may also be interested in my loquat cardamom jam and my strawberry loquat jam recipes. For ease of browsing, you can find all of my jam recipes in one place.
Pook’s Pantry participates in affiliate programs. If you make a purchase through one of my links, I may earn a small commission. For more information, please see my disclosure policy.
Why you should make this recipe
- Quick & Easy – This recipe is straightforward and only takes a little over an hour, start to finish.
- Perfect for beginners – With only 3 ingredients and no pectin, this is a great jam recipe for those new to canning.
- Shelf stable – This jam can sit in the pantry for a full year.
Easy loquat jam recipe
Homemade jam opens up a world of possible flavor combinations. You’re able to create pairings that you’ll never see anywhere else – this is where the fun really begins.
When you are making jam, you want ripe, luscious fruit at its prime. If you choose fruit that isn’t ripe and doesn’t taste good, your jam won’t taste good either.

Loquats, also called nispero, make a truly unique and delicious jam. It is bright both in color and flavor, and has a lovely sweet-tart taste that pairs well with more than your morning toast.
Loquat jam recipe ingredients
You will only need 3 ingredients to make this jam.

- Ripe loquats – You’ll need 8 cups of loquats after they’ve been peeled and seeded. Do not use unripe loquats, they don’t make good jam.
- Lemon juice – 1 large lemon should be enough, but buying 2 is not a bad idea. You’ll need 3 tbsp. of juice for the recipe, plus a little extra to toss with the loquats so they don’t oxidize.
- Sugar – Regular granulated sugar that you have in the pantry.
How to make
If you are new to jam making, there are a few things you should know. The first thing you need to do is get all of your equipment together before you begin making this loquat jam recipe.
Make sure everything is clean and ready to go, because once your jam is ready, you want to get it in the jars and into the water. Measure all of your ingredients and have everything laid out.
It takes awhile for the big canning pot of water to come to a boil, so I usually put that on first.

- First, sterilize the jars and lids in boiling water.
- While the jars are in the water, start peeling the loquats. Cut the fruit in half, or break it apart with your fingers and remove the blossom end and the large seeds inside. (peeling the loquats is optional in this recipe, but it gives the loquat jam a much smoother texture if you do).
- Toss the peeled loquats with a little lemon juice to keep them from turning brown. In a large sauce pot, combine the fruit with the lemon juice and sugar.
- Boil jam for 30 – 40 minutes. When jam is starting to come together, remove jars from water and set aside. When jam is ready, ladle into jars. Top with lids and tighten bands to “fingertip tight”. Process in hot water bath to seal.
Watch the full “How to make loquat jam” video
Loquat jam FAQ’s
A loquat is a fruit that grows on a large flowering tree. It is native to China, but is found all over parts of Asia, Europe and the warmer regions of the United States, like Florida and California.
Yes! Loquat skin is completely edible. Loquats have a very thin skin, like an apple or a pear, that is perfectly fine to eat.
The skin is edible, but the fruit has a very large seed pod inside that is toxic, so the seeds are not edible.
The flavor of a loquat is a combination of peach or apricot with a slight citrus tartness and a little mango, depending on the tree. The texture is similar to a pear.
Once you’ve picked loquats, they will not last long without refrigeration. To keep the fruit for a little longer, you can refrigerate it up to 2 weeks after picking.
Once the jars have been processed and sealed in a hot water bath, jam will last for 1 year unopened.

When to pick loquats
When picking loquats for jam, keep in mind that the fruit will not last long. If you plan to pick fruit for jam (or any other purpose), try to use it soon after picking. It will begin to turn brown within a day or two.
When picking loquats, look for deep yellow, almost orange fruit. If the fruit looks light yellow, with a greenish hue to it, it is not ripe yet and will be bitter. Let it stay on the tree for another few days or a week until it ripens. Unripe loquats are not good for jam.
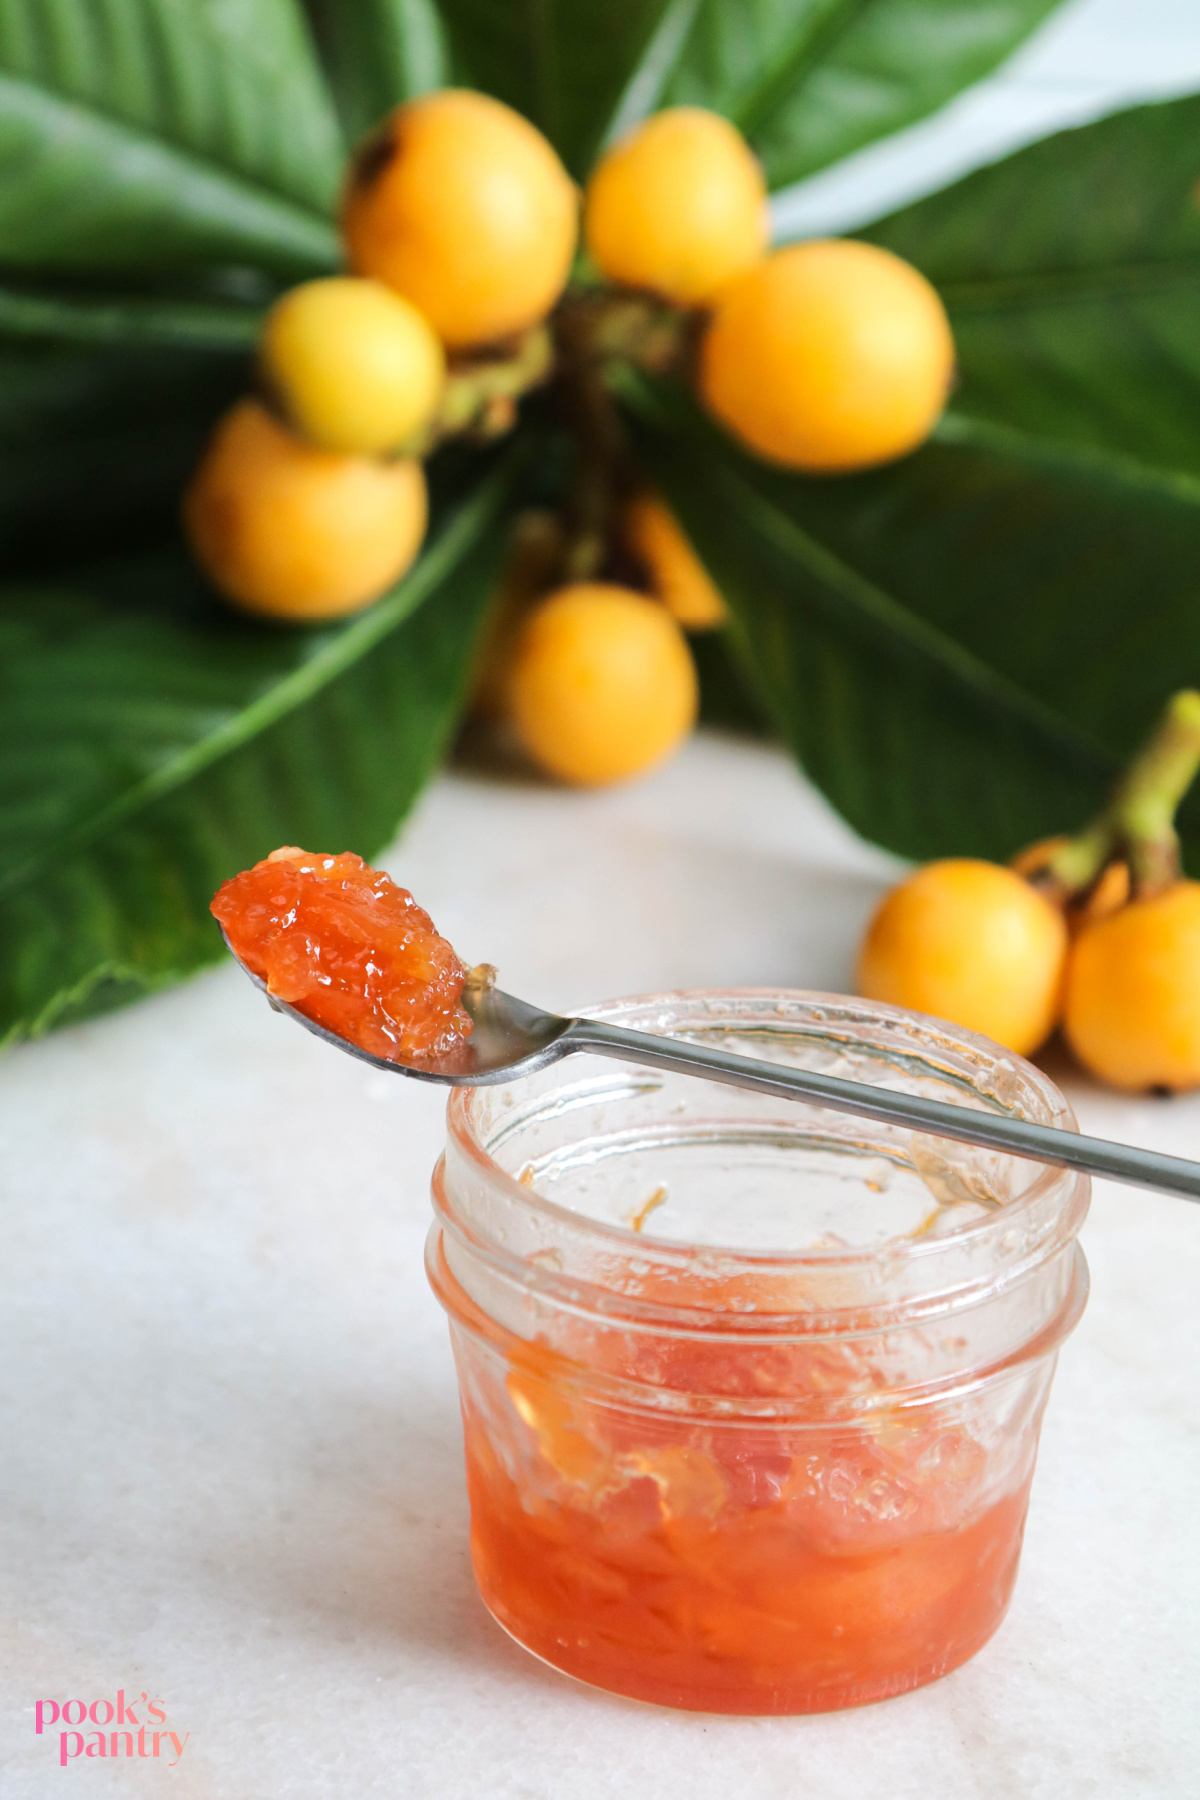
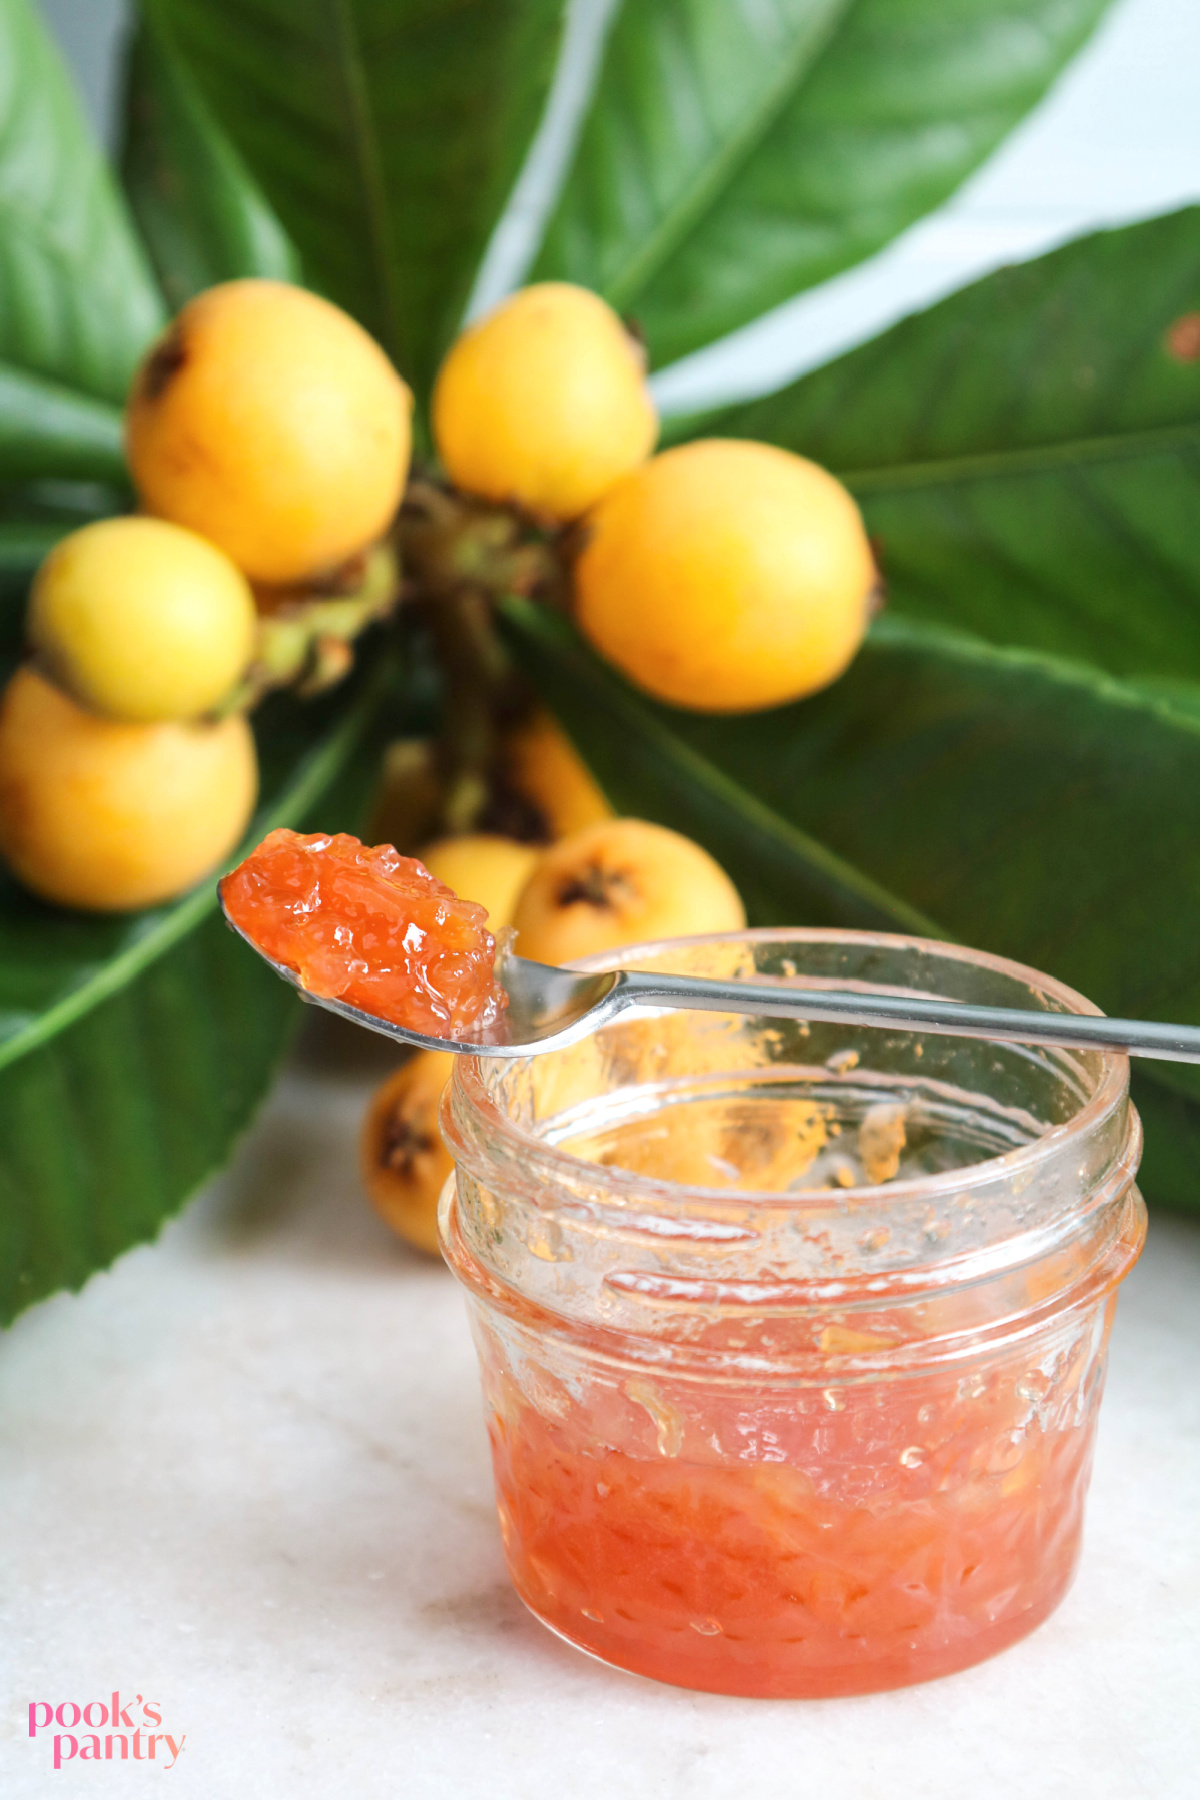
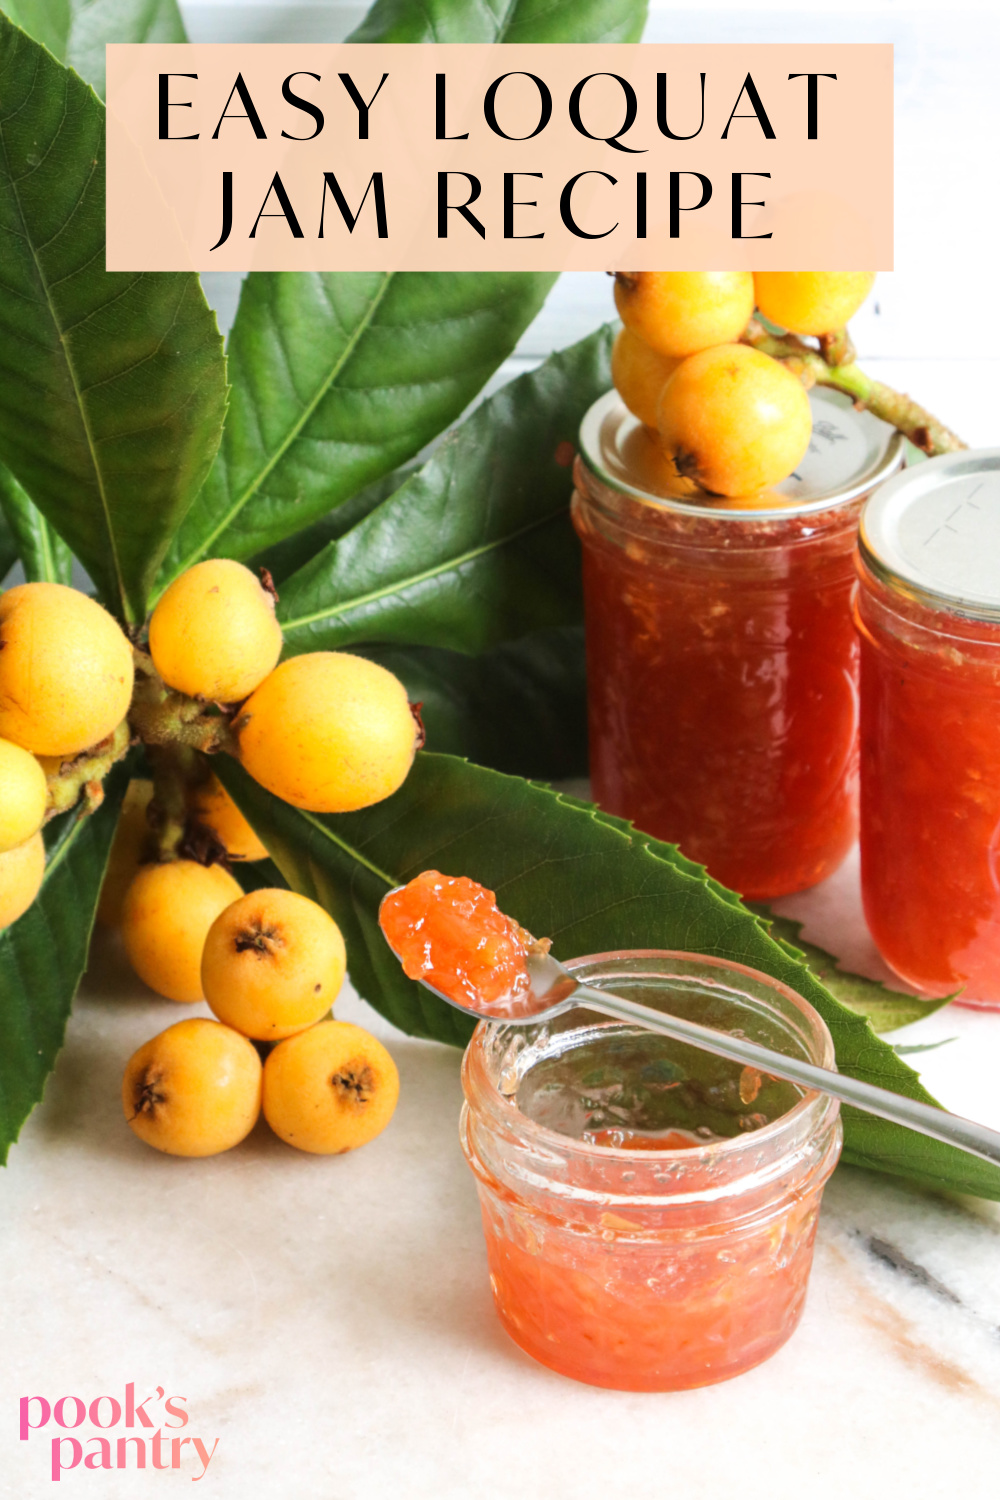
The fruit grows in clusters on the tree. Those are the actual loquats I picked for this jam!

Variations and substitutions
- One of my favorite variations of this jam is my loquat jam with vanilla and bourbon. It is honestly one of my favorite jams of all time.
- If you are an experienced jam maker, swap out some of the loquats (nispero) with other fruits to make tasty combinations.
- If you prefer not to process your jars in a water bath, store the jam in the refrigerator and use up within a month.
Helpful tips & tricks
One note I’d like to make here is about time. If your jam doesn’t set up immediately, don’t panic. Sometimes, it can take a few days for it to set up. As long as you’ve boiled it down and it looks like it should, go ahead and put it in the jars.
Worst case scenario, if it doesn’t set up, you can store it in the refrigerator. You still have delicious jam. It is highly unlikely that it won’t set properly, given the amount of natural pectin in loquats. Keep in mind that even if it does happen, you still have jam. It will be a soft-set loquat jam instead of a firmer set recipe.
The post on Strawberry Key Lime Jam gives you a quite a few tips, if you want to give it a quick read.
Serving suggestions
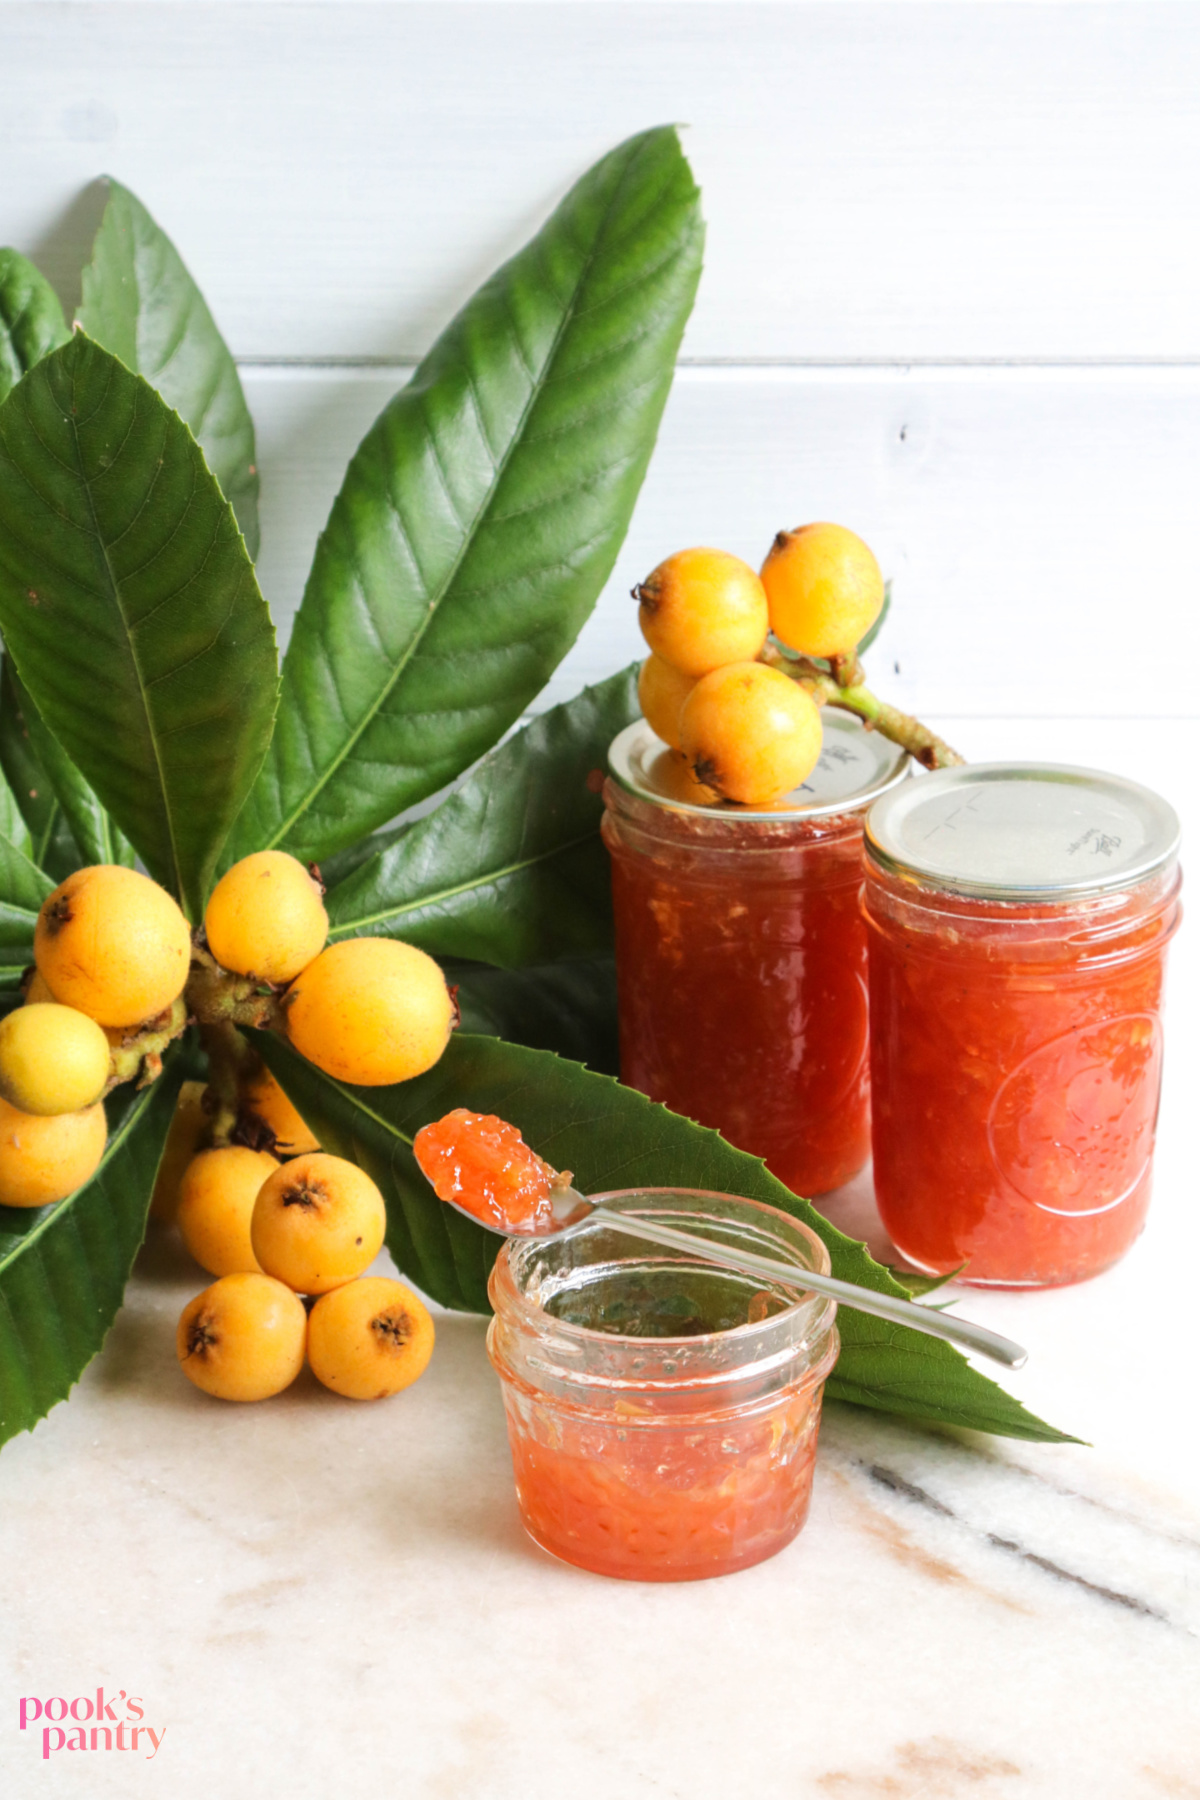
I love to put a spoonful of this jam on warm buttermilk biscuits. Serve this jam with your favorite breakfast recipes, like loquat muffins.
Making a charcuterie board? Use this jam to pair with cheese & crackers! Trust me, it’s delicious.
Lastly, use it as a glaze for your grilled chicken or pork. Just remember to brush it on at the end of cooking, as the sugar will burn.
More jam recipes we love
- Blueberry lime jam
- Peach pepper jam
- Strawberry key lime jam
- Slow cooker bacon jam
- Fig jam
- Black and blue freezer jam
- Kumquat marmalade
Helpful tools and equipment
Check out my full list of tools, equipment and books for canning.
- canning set – This includes the basics to get you started.
- water bath canner
Please share
If you love this recipe, please give it 5 stars!
I hope you love this loquat jam recipe as much as we do! Please consider rating and/or commenting.
Your shares help this site to grow and I appreciate it so much. Do you know someone who would like this? I’d love it if you would share it on Facebook or pin it to your favorite recipe board.

Easy loquat jam recipe
Equipment
Ingredients
- 8 cups loquats seeded and halved or quartered (and peeled, if desired) // 1900 ml
- 4 cups sugar // 800g
- 3 tbsp. fresh lemon juice + 1 1/2 tbsp. for tossing with loquats before cooking
Instructions
- Place 4 half pint jars in a water bath, along with lids. Bring to a boil, then reduce heat to low to keep warm.
- Remove blossom end of loquat, peel if desired. Remove seeds and cut in half or quarter, depending on size. *You may want to wear gloves, as your nails may discolor.
- Add 1 1/2 tbsp. lemon juice to loquats and toss. This will help the fruit from browning.
- In a 6 quart pot or Dutch oven, add loquats with 3 tbsp. lemon juice and 4 cups sugar.
- Bring to a boil over medium heat, stirring frequently to avoid scorching. Using a potato masher, gently break up fruit halfway through cooking. (You can do this off heat to avoid getting splashed).
- Cook for 30 – 40 minutes. Jam will be foamy when it begins to boil, but the foam will begin to subside when jam is almost ready – that's your cue to start watching it closely.
- Gently remove hot jars with canning tongs and place on a dish towel until you are ready to process jam. Remove lids from hot water and set aside with jars.
- Ladle jam into sterilized jam jars, leaving 1/4" space. Place lid on jar and tighten band only to "fingertip tight". Lower jam into water bath and process for 10 minutes. Remove from water, place on counter to cool.
Video
Notes
Nutrition
Thanks for stopping by! Have a delicious day 🙂

Questions? Send me an email, I’m happy to help. I’d love to send you weekly tips and recipes, so you can get updates about what’s happening in the kitchen!
Hello! All photos and content are copyright protected. Please do not use my photos or recipe (other than for personal use) without prior written permission. Thank you!


Problem why
My problem is jam setting like concrete,?
You may be overcooking it a bit, William. You can add a little water to loosen it up and it should be fine.
Can you use frozen loquats? My frozen loquats have a lot of juice, is this ok?
Hi Vikki,
Yes, you can use frozen loquats. The first time I made loquat jam, mine were frozen too. Just make sure that you cook it down a little longer and/or drain some of the liquid off if you can. If you can’t drain some of the juice, just cook it down a bit longer until some of it has evaporated so your jam isn’t runny.
This is the BEST loquat jam I’ve tried. Can’t wait to try your other jam recipes too!
Thank you so much, Laura! Right back at you!
Just made this from a bunch of fresh loquats from my friend’s tree! First time making the Jam and it came out beautiful! It’s so yummy! I did the frozen plate test to make sure my jam would set right so that helped when to stop cooking it down.
I’m so glad your jam turned out well! Loquats are DELICIOUS, they make gorgeous jam 🙂 I’m happy the plate test helped you!
Is it alright to use loquats that have turned brown? They were put in a cloth bag after picking and I was traveling. when I got ready to make the jam, they had brown places on them.
If they only have a few brown spots, it’s fine!
c
can you still use brown ones?
Hi Claire, Yes, you can still use them if they have browned, but not if they are badly bruised and looking like they are going bad.
This was quite an easy recipe to follow and my jam came out great. We have a loquat tree in the backyard so we used our fresh picked loquats. I water bathed them to keep them in the pantry. Very good jam!
Thank you so much for the lovely feedback, Kathy! I’m so happy you liked the recipe!
Is this 8 cups before or after they are seeded?
Hi Sarah – Hope this helps: “Ripe loquats – You’ll need 8 cups of loquats after they’ve been peeled and seeded. Do not use unripe loquats, they don’t make good jam.”
Can anyone offer some tips on peeling. After 4 hours of careful peeling with a paring knife, and gaining only one cup of loquat “meat”, it’s going to take me days. I used a cherry pitter to remove seeds. Blanching, peeling and taking the hard seed casing out is taking forever and leaves such a scant amount of actual fruit to use.
I just wanted to make some jam…
Ro, I’m sorry that peeling the fruit is proving to be difficult for you. Are the loquats ripe? The skin should come off fairly easily on ripe fruit. That being said, if you don’t want to peel them, you don’t have to. The skin is edible and very thin, so it won’t be a big deal if you leave it on. I hope that helps.
Hey Ro. If you just cut off both ends then slice /score the skin lightly on one side ( top to bottom) the skin will easily peel off using your hands. Then cut in half to remove the seeds. Hope this helps!!
Not sure how you know exactly if the jam is ready? I don’t want to over cook it at 40 mins or under cook it at 30!!
Thanks
Hi Kelly, you can do a simple freezer gel test. Put a teaspoon or two of jam on a plate that you’ve put in the freezer. Put a spoonful of jam on the dish and put it back into the freezer for one minute. Swipe your finger through it to see if it runs back together. If it doesn’t come back together, the jam is ready.